Installing SPONGE and Related Software on Windows
SPONGE 1.4 tutorial.This page was translated by GPT-5.5 AI.
Installing SPONGE and Related Software on Windows
Last updated
2024/01/01
Introduction
This tutorial explains how to install SPONGE and its related software on the Windows operating system. The software covered includes:
- SPONGE: the main program for molecular dynamics simulations
- Xponge: pre- and post-processing software for molecular dynamics
- VMD: visualization software for molecular dynamics
Installing SPONGE from Source
Confirming the Required Software Versions
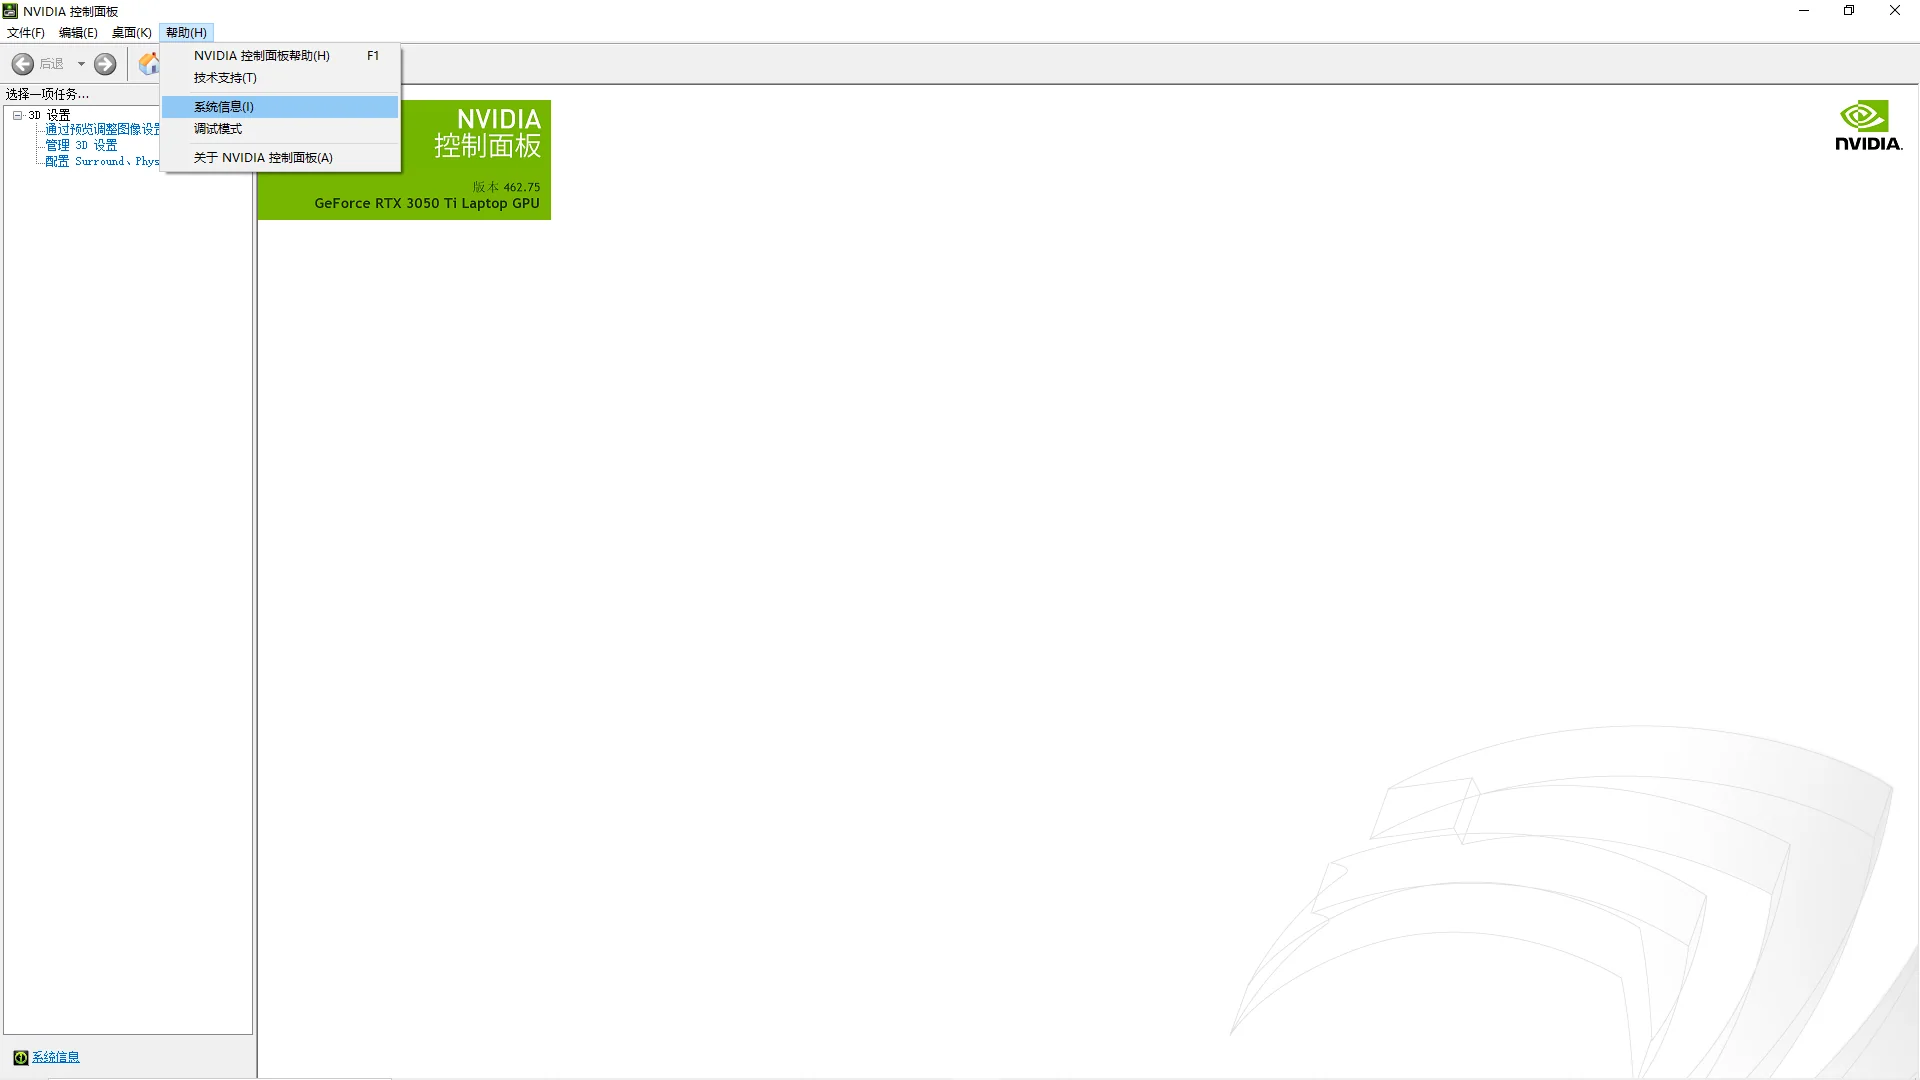
First, check the appropriate CUDA version for your graphics card and driver. Open the NVIDIA Control Panel.

Click Help - System Information.
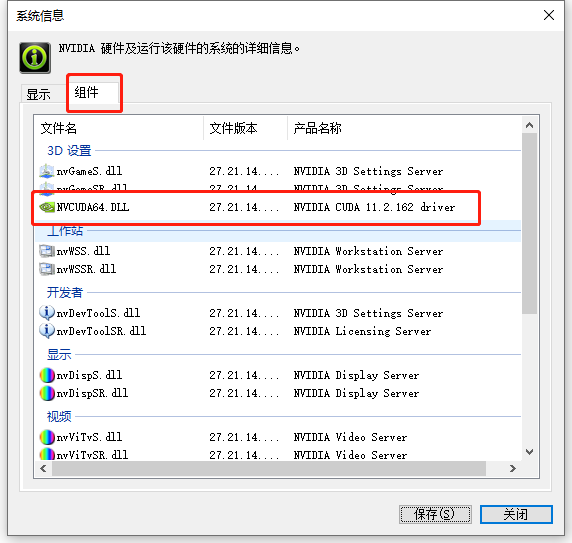
In the Components section, you can see the corresponding supported CUDA version.
Next, determine the Visual Studio compiler version you need. There is currently no simple way to judge this automatically, but you can search using relevant keywords. For example, for CUDA 11.2, you can search directly as shown below.

In this example, other users have used Visual Studio 2019.

Installing the Compiler
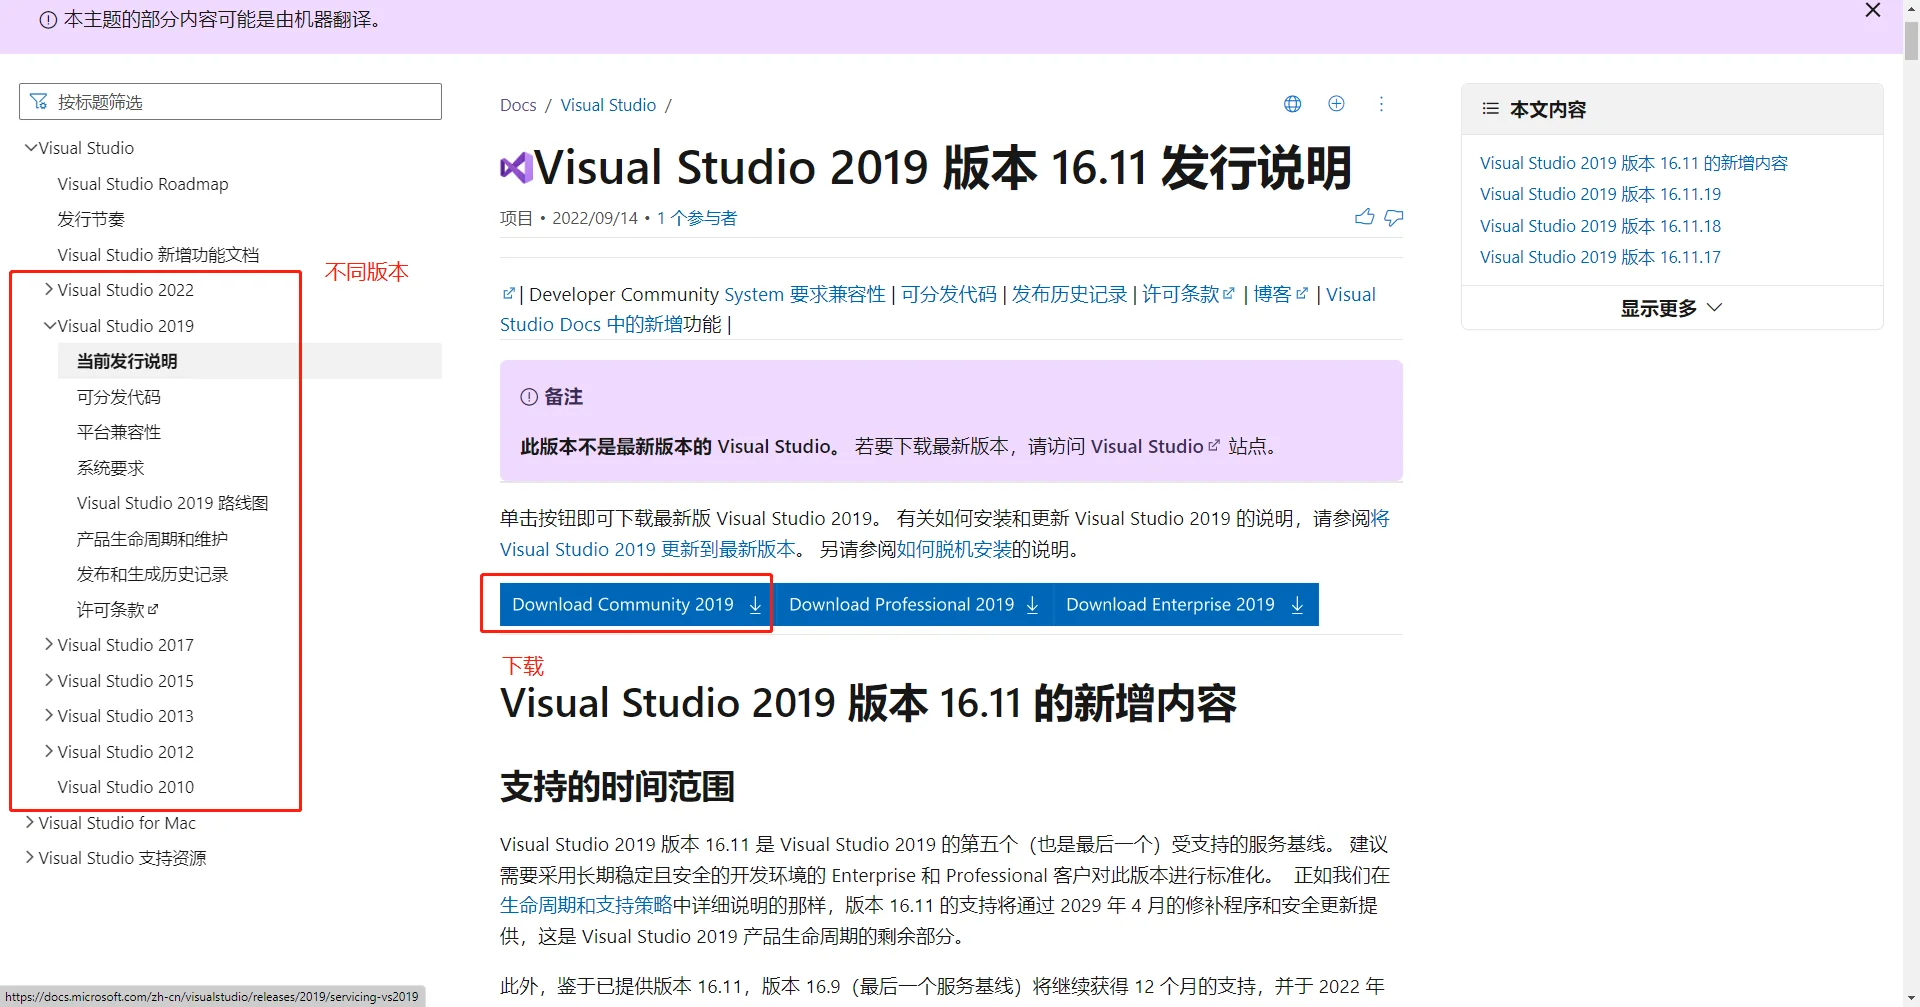
On Windows, Visual Studio is recommended as the compiler. You can download it from the official website: Visual Studio 2019 version 16.11 Release Notes | Microsoft Docs. The Community edition of Visual Studio is free for individual users. You can change the version from the side of that page.
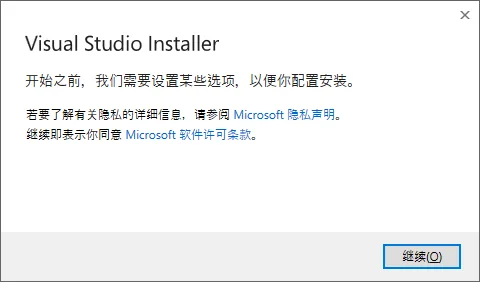
The following steps use Visual Studio 2022 as an example. After the download is complete, open the installer and click Continue.
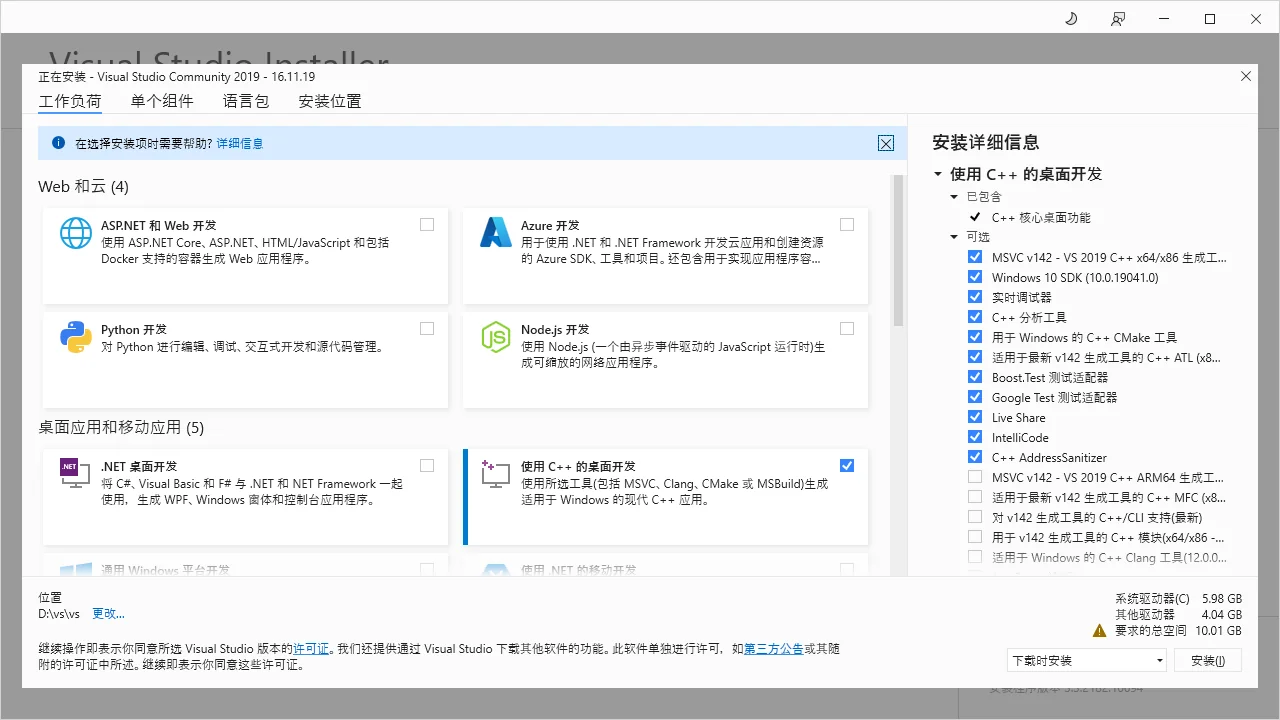
After the installer spends some time downloading and setting up, you will reach the workloads page. Select Desktop development with C++.
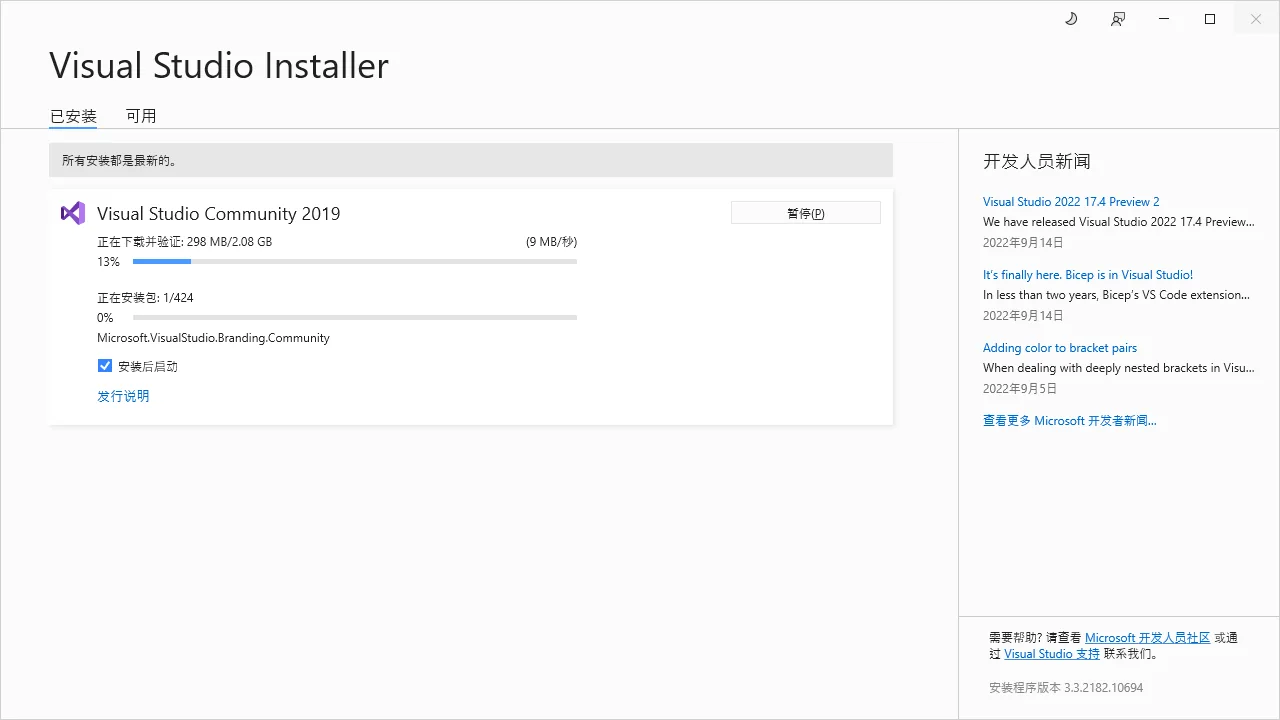
You will then enter the download and installation page. Wait for the download and installation to finish.
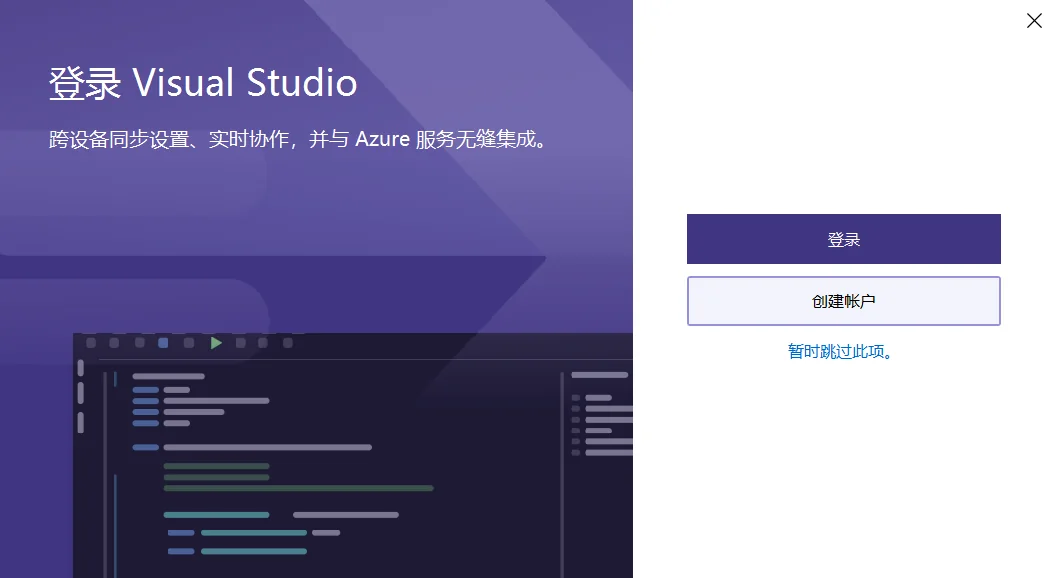
You do not need to restart immediately. You can open Visual Studio directly and skip signing in for now.
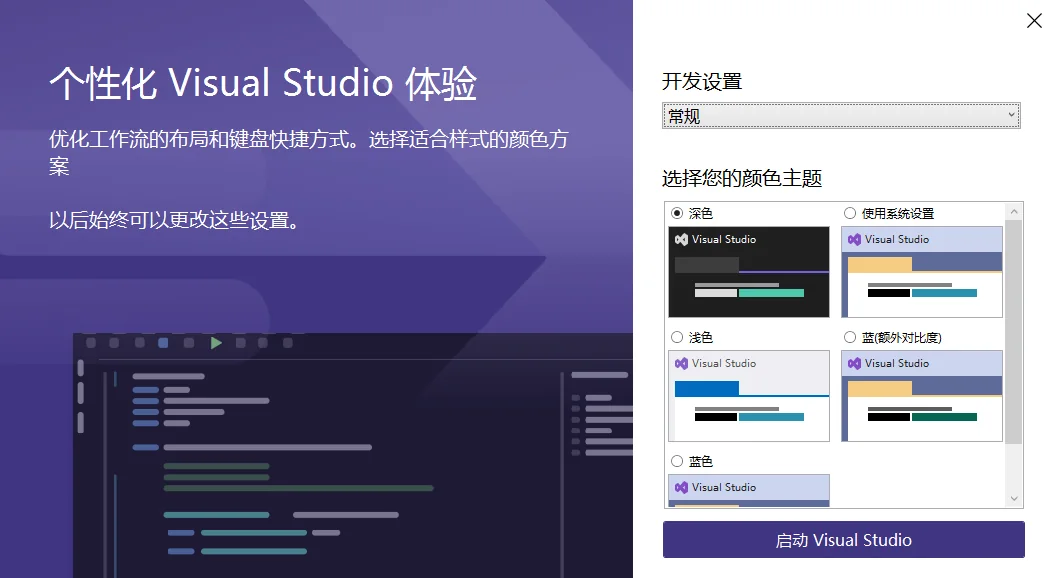
Configure a few appearance settings.
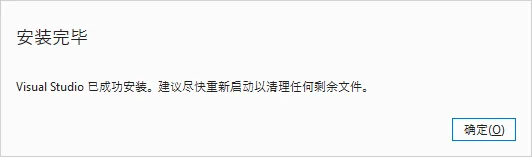
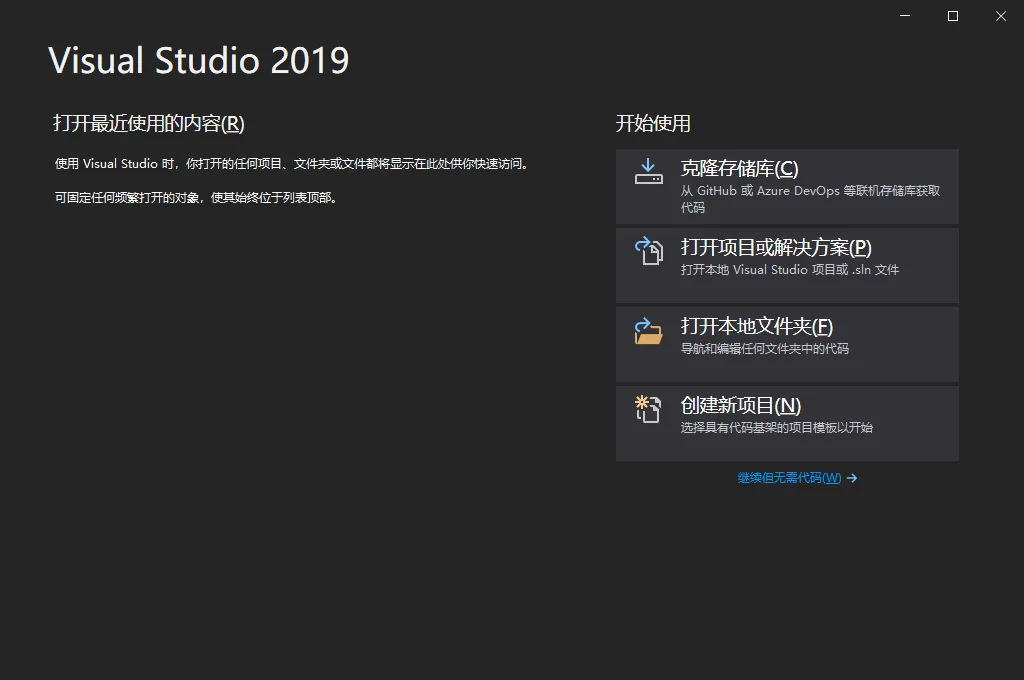
When you can see the following screen, Visual Studio has been installed successfully.
Installing CUDA
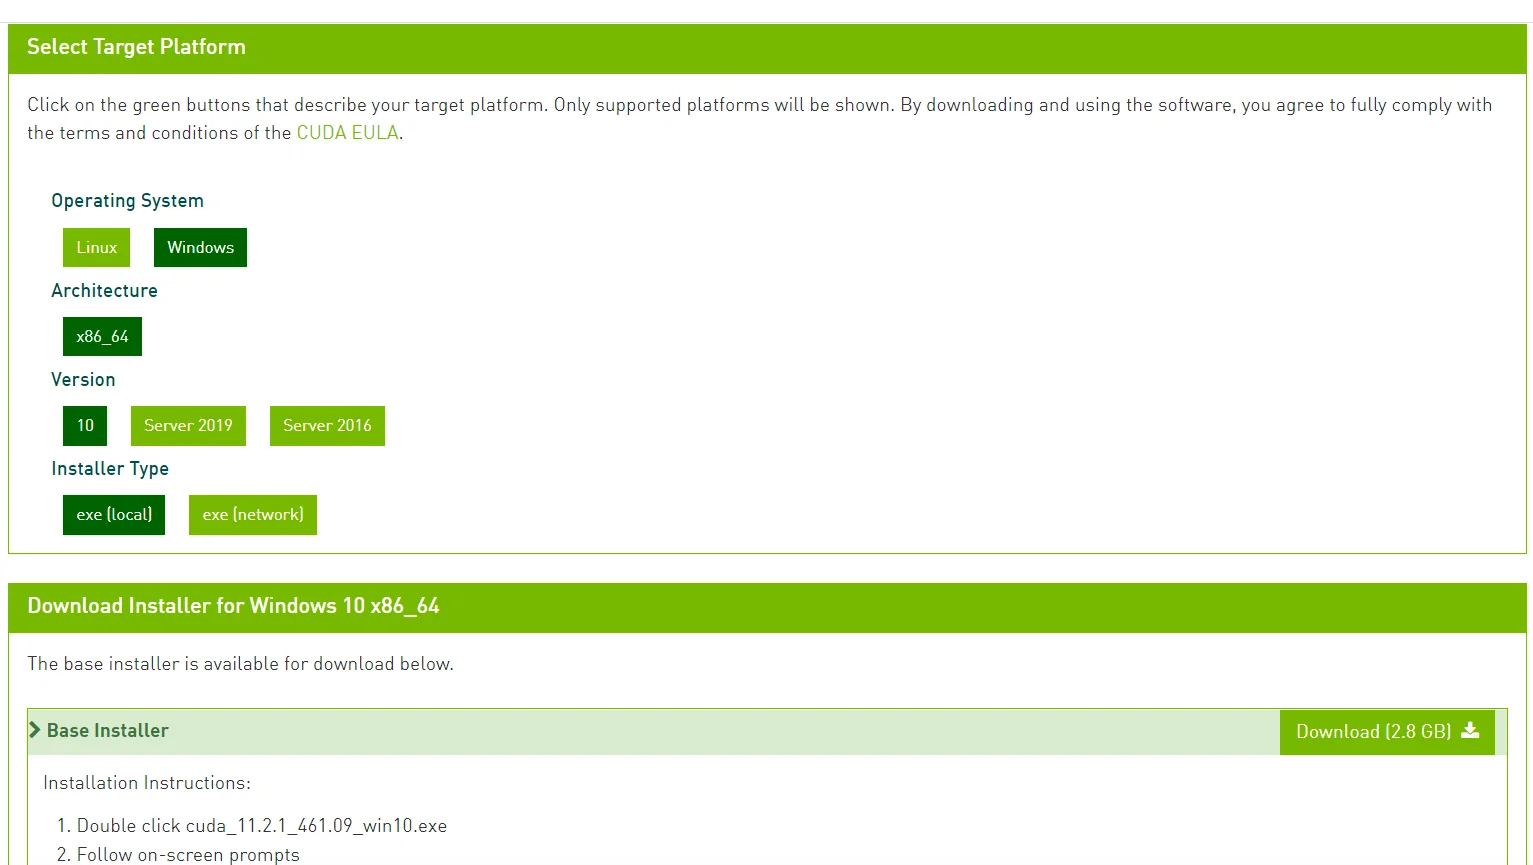
Go to the official CUDA website, CUDA Toolkit Archive | NVIDIA Developer, to download CUDA. Follow the prompts to select the correct version and platform information for your system, choose the local installer, and click Download.
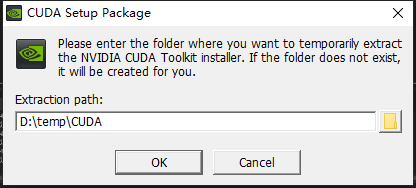
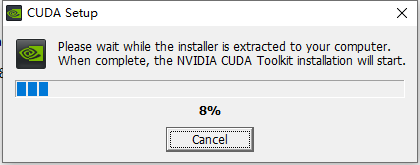
After the download is complete, start the installer and choose a suitable folder for temporary files.
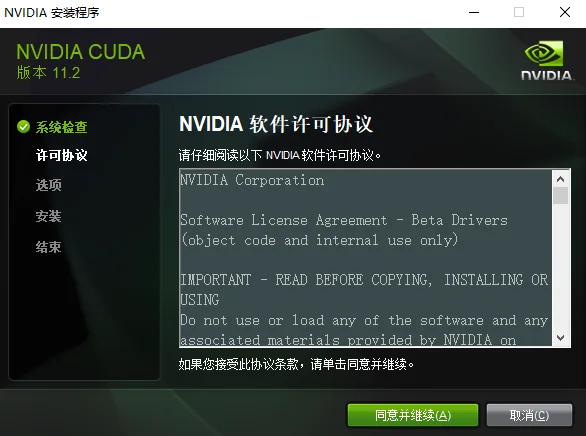
Accept the license agreement.
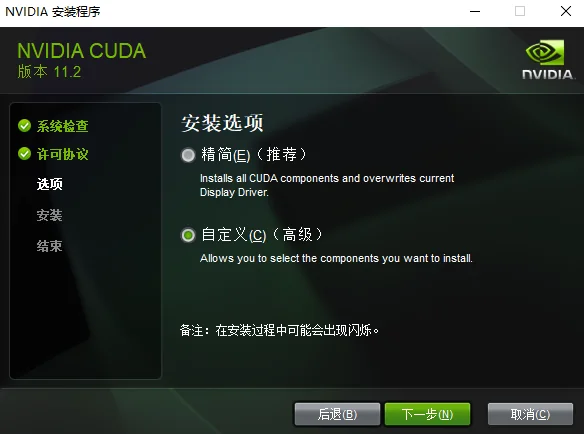
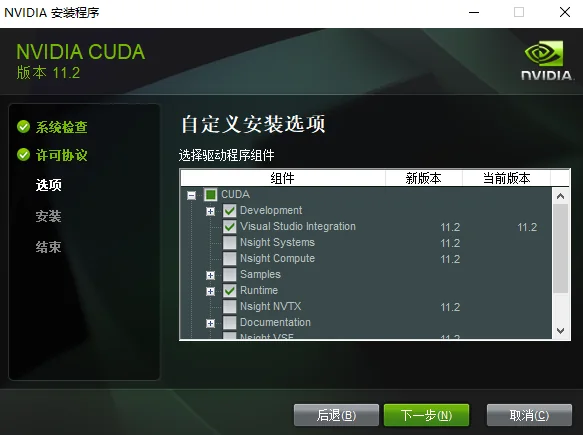
On the installation options page, choose Custom installation.
You only need to select Development, Runtime, and Visual Studio Integration under CUDA. Select any other components according to your own needs.
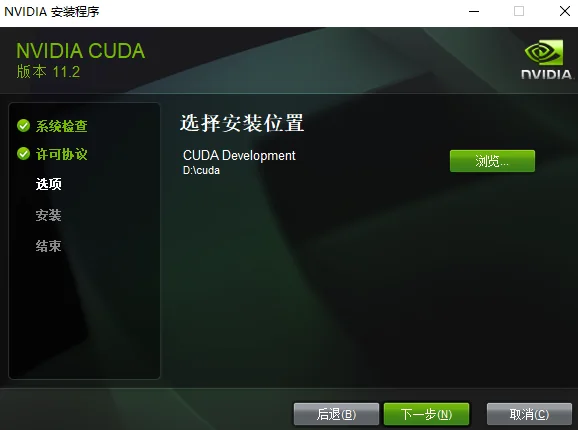
Choose a suitable installation location.
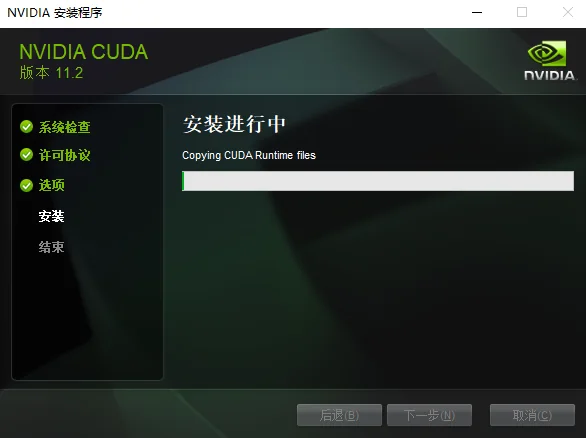
Start the installation.
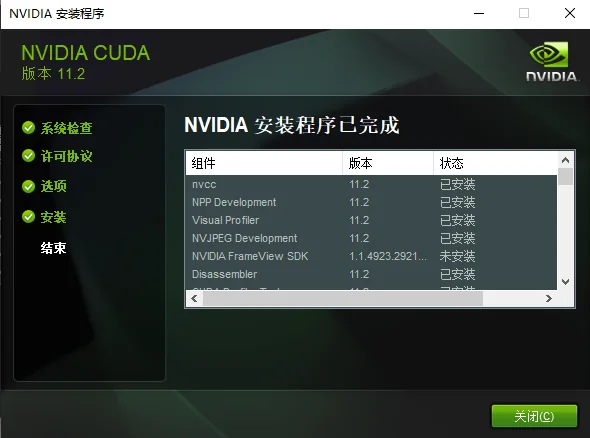
The installation is complete.
Installing the SPONGE Package
Go to the SPONGE official website, SPONGE (spongemm.cn), to download it.
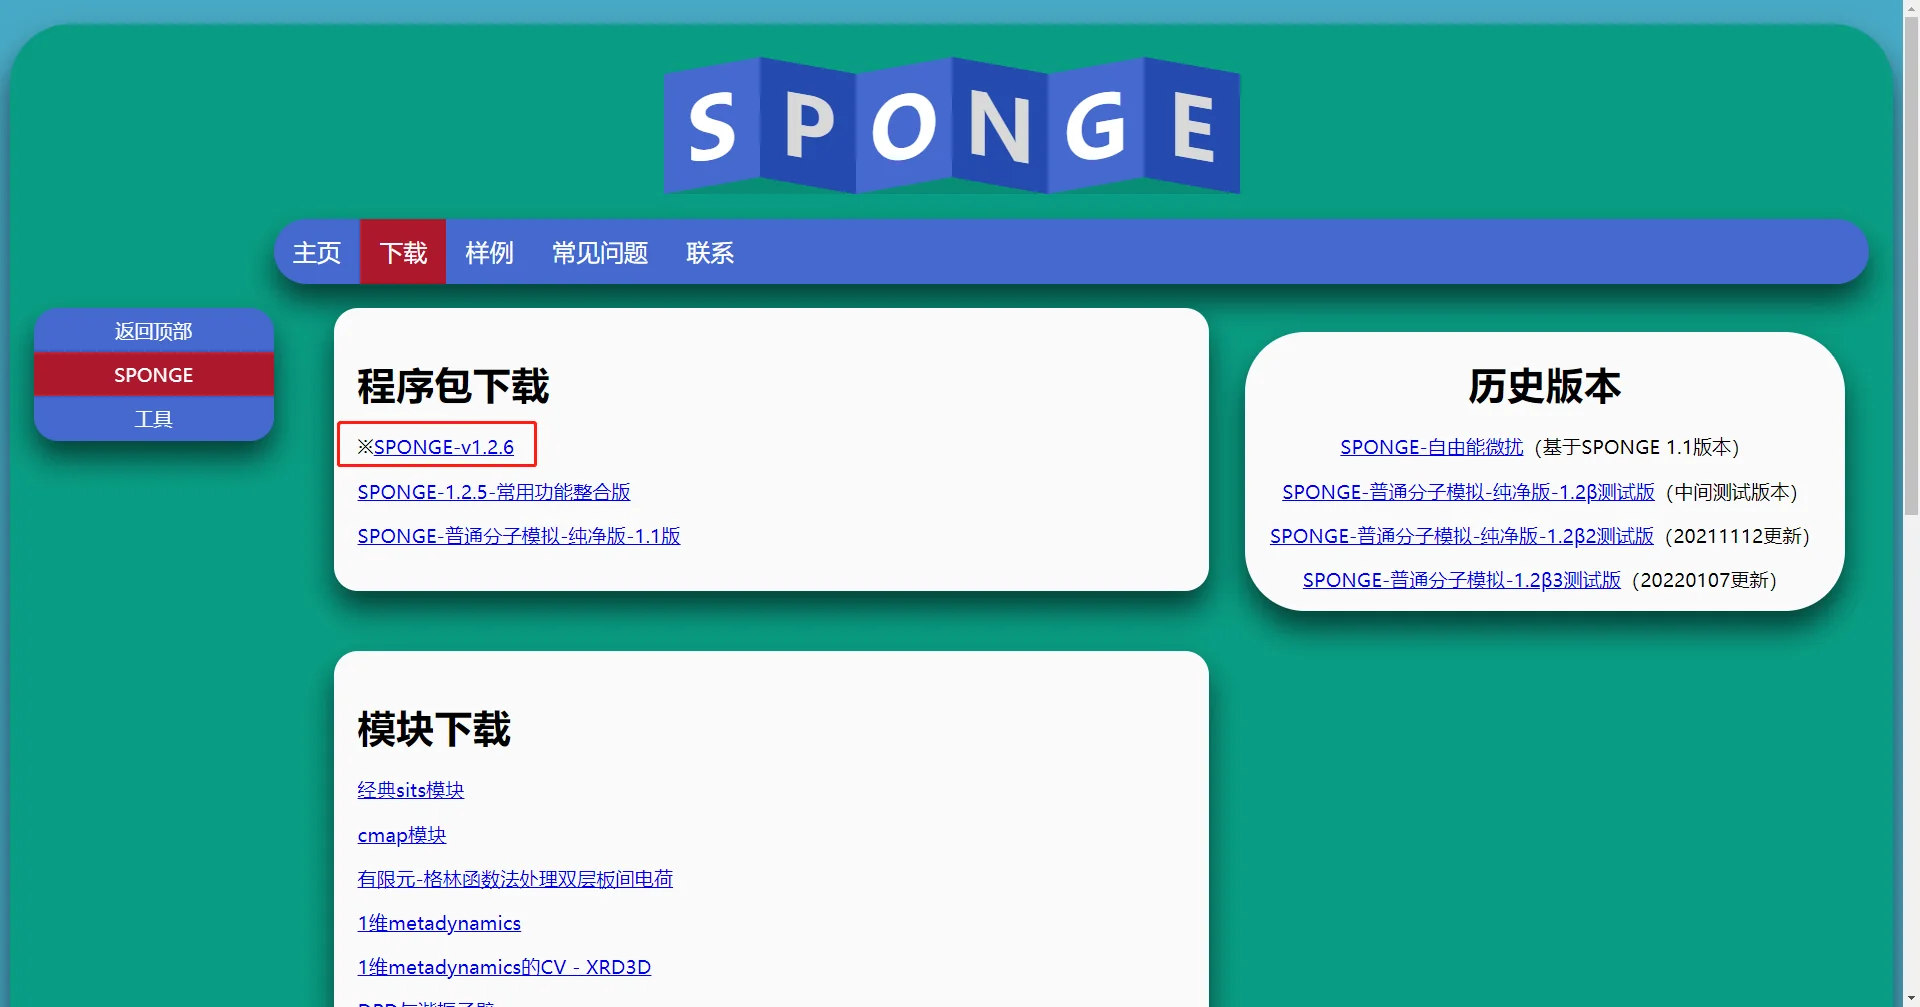
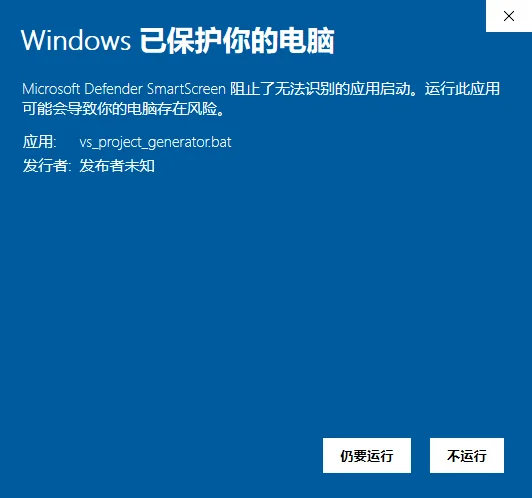
After the download is complete, you will have a zip package. Extract it, then open the SPONGE folder inside. It contains a bat file named vs_project_generator.bat. Double-click this file to run it. A firewall warning may appear during the process; click Run anyway.
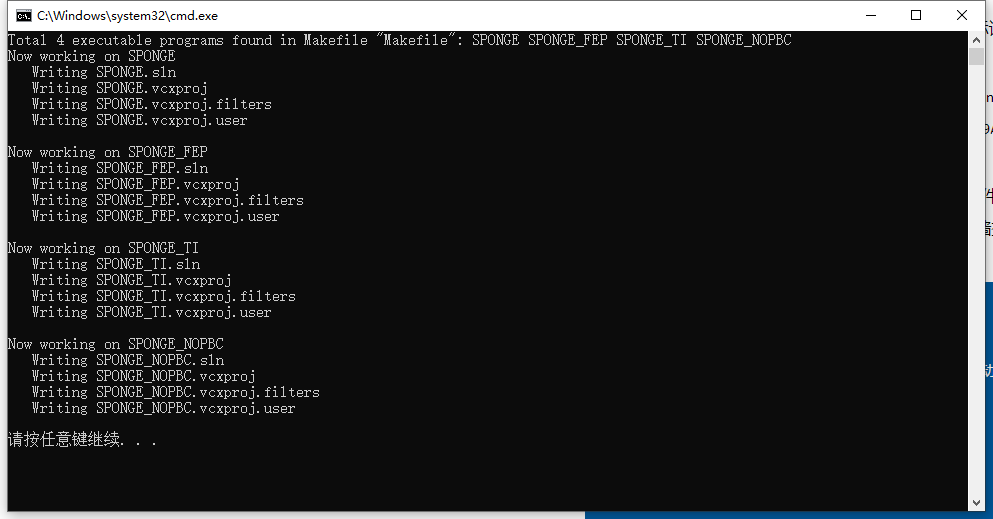
The script will automatically generate the project files. When the following prompt appears, press any key to exit.
Return to the SPONGE folder. You should now see the following files.

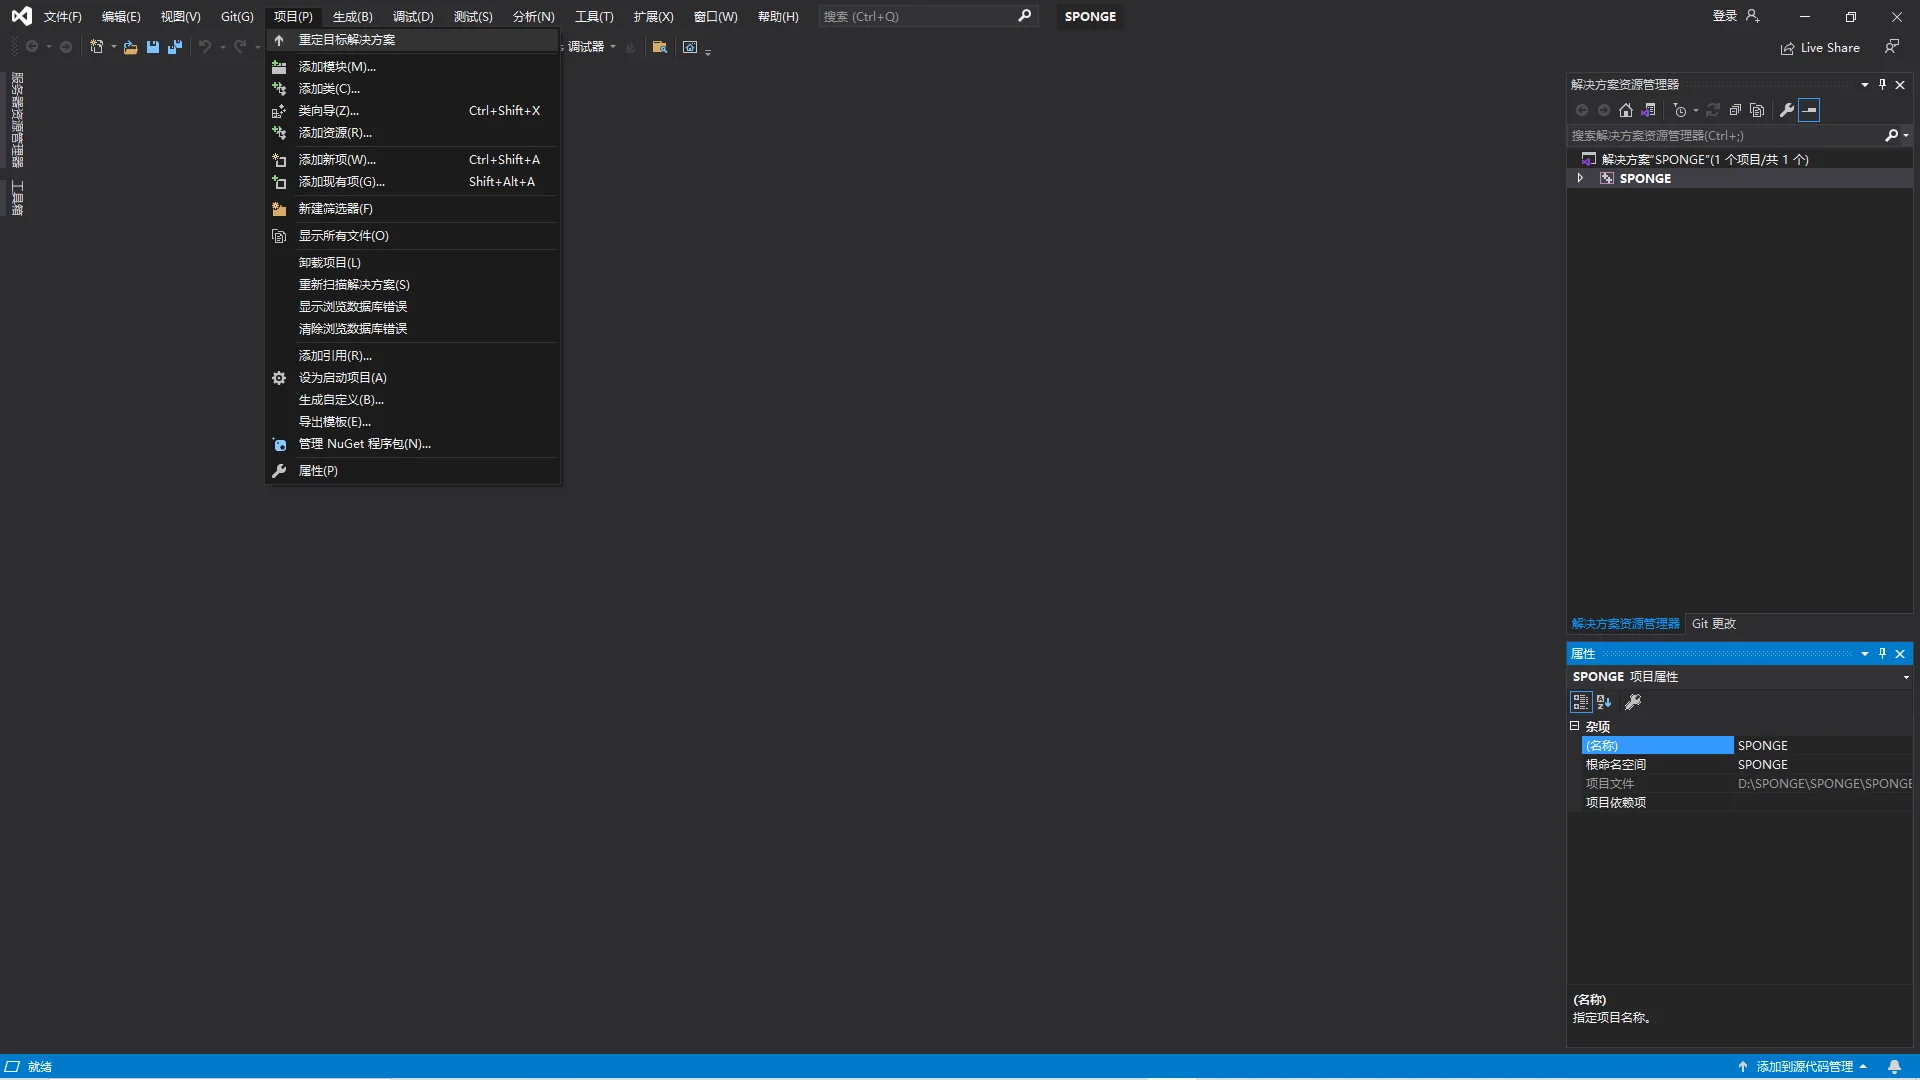
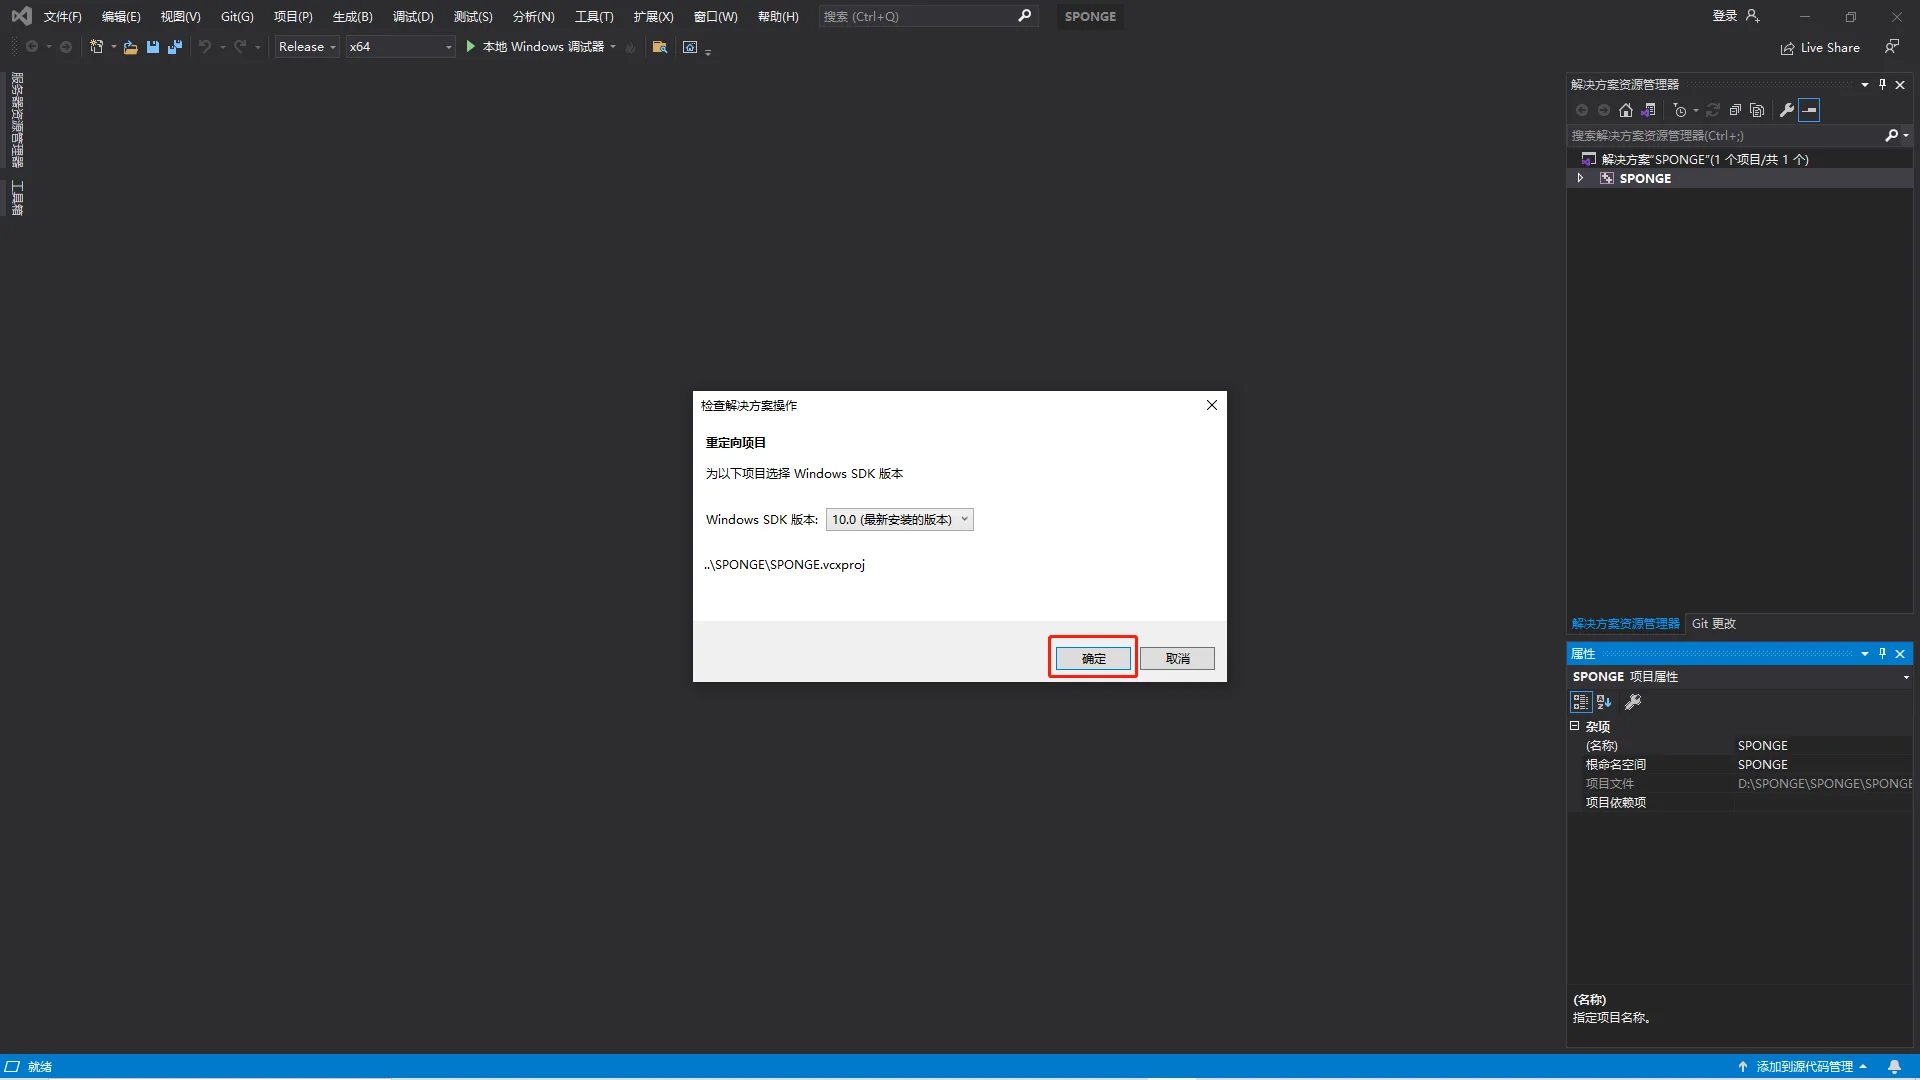
The corresponding project file is for the main SPONGE program. For compatibility reasons, the generated project file targets Visual Studio 2013, so newer versions of Visual Studio will prompt you to upgrade it after opening. Click OK.
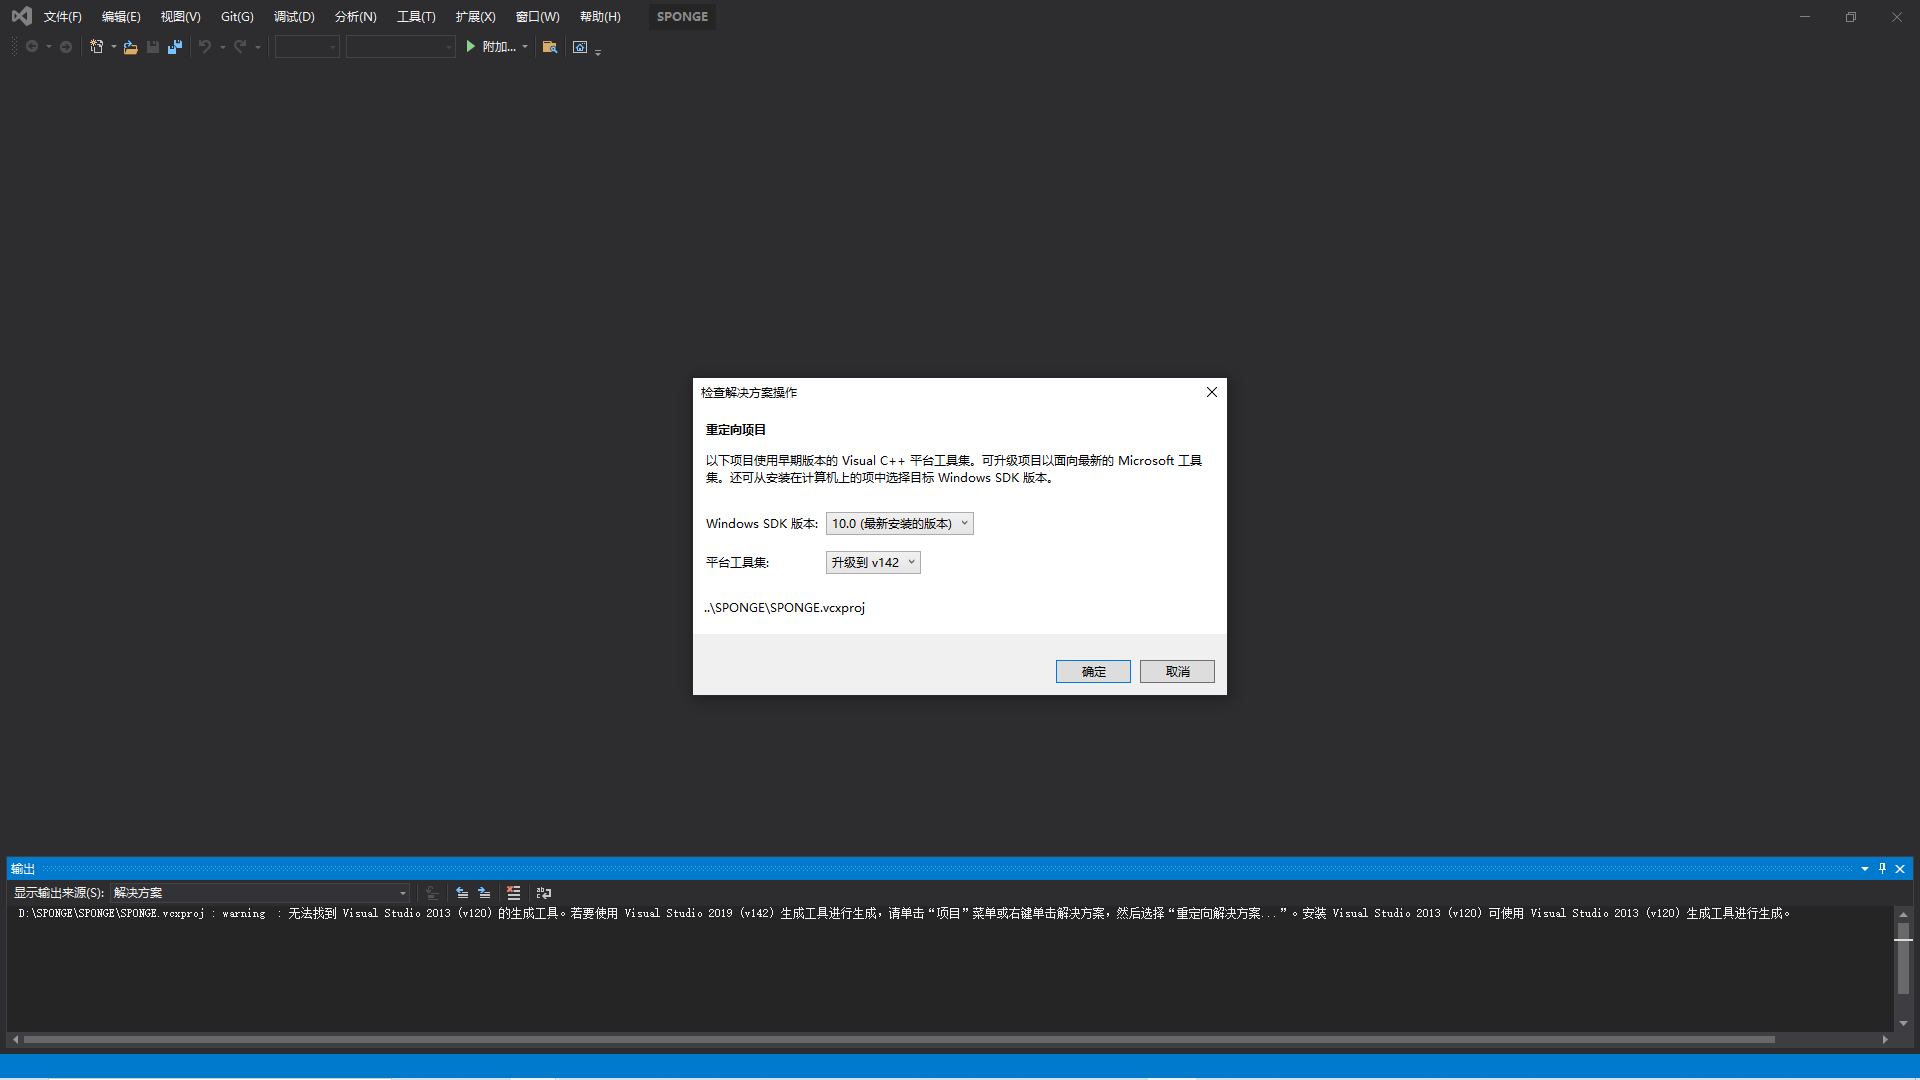
Click Project - Retarget Solution, then click OK again to upgrade it to your version of Visual Studio.
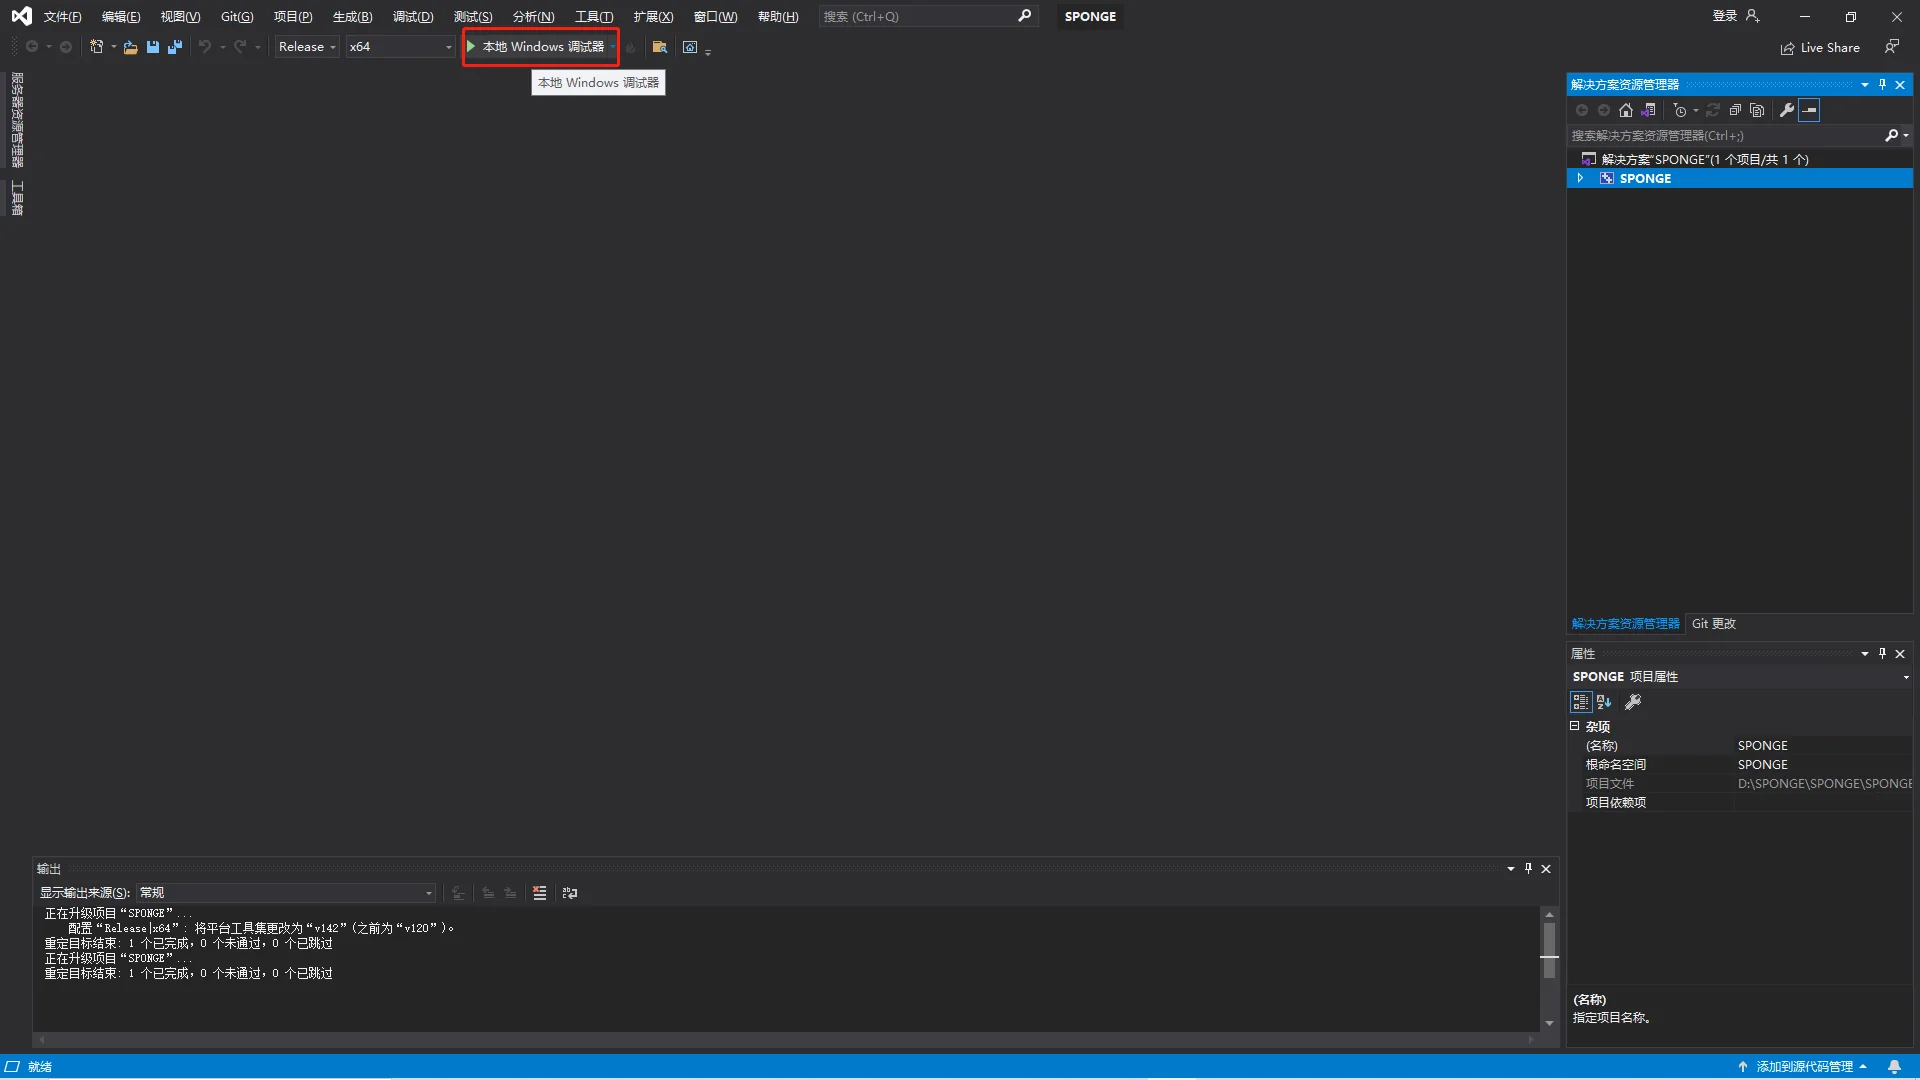
Then click Windows Debugger in the toolbar to build and run it.
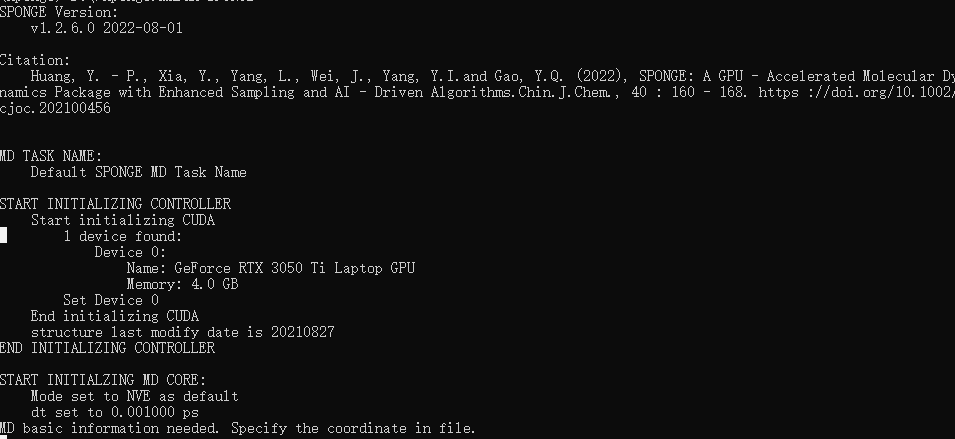
A black console window for the program will appear at the end. If you see the following screen, compilation was successful.
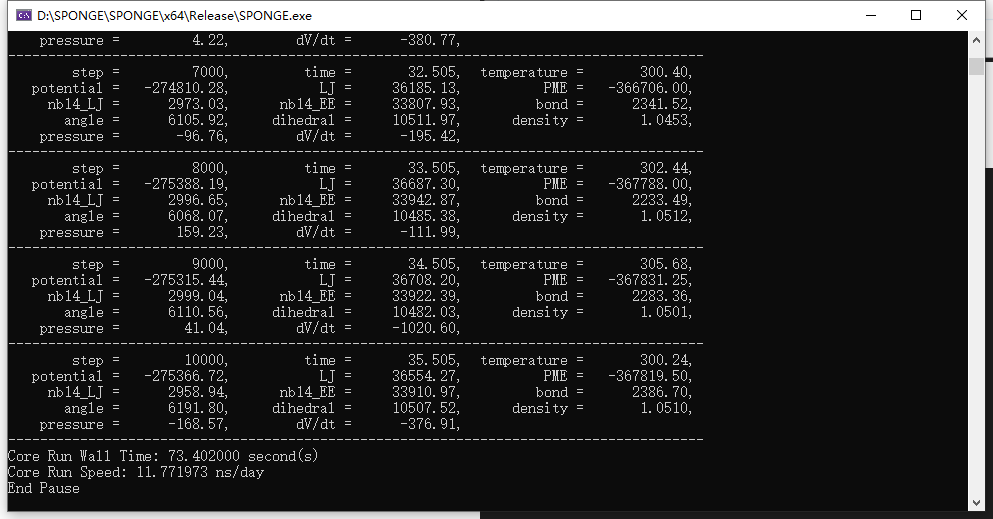
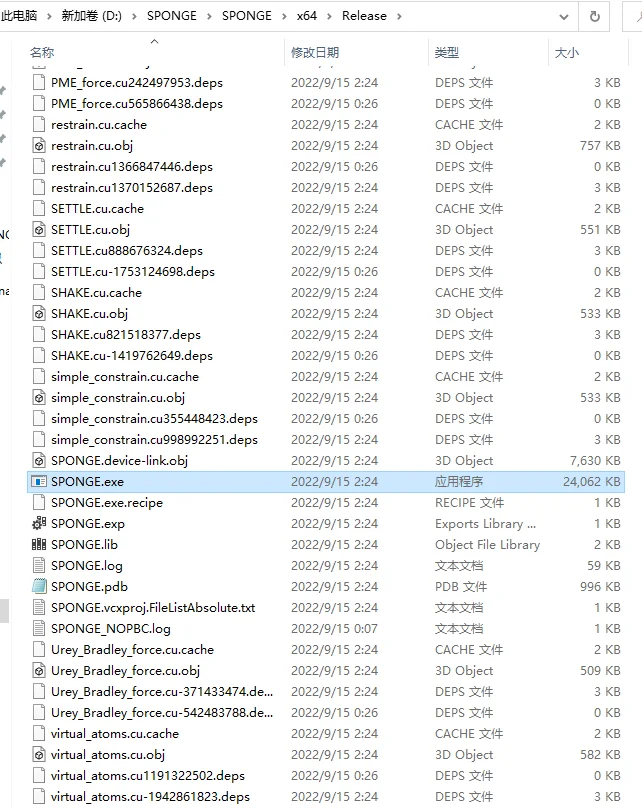
The final executable file is generated in SPONGE/x64/Release. Add this folder to your environment variables.
Installing Xponge
Installing Miniconda
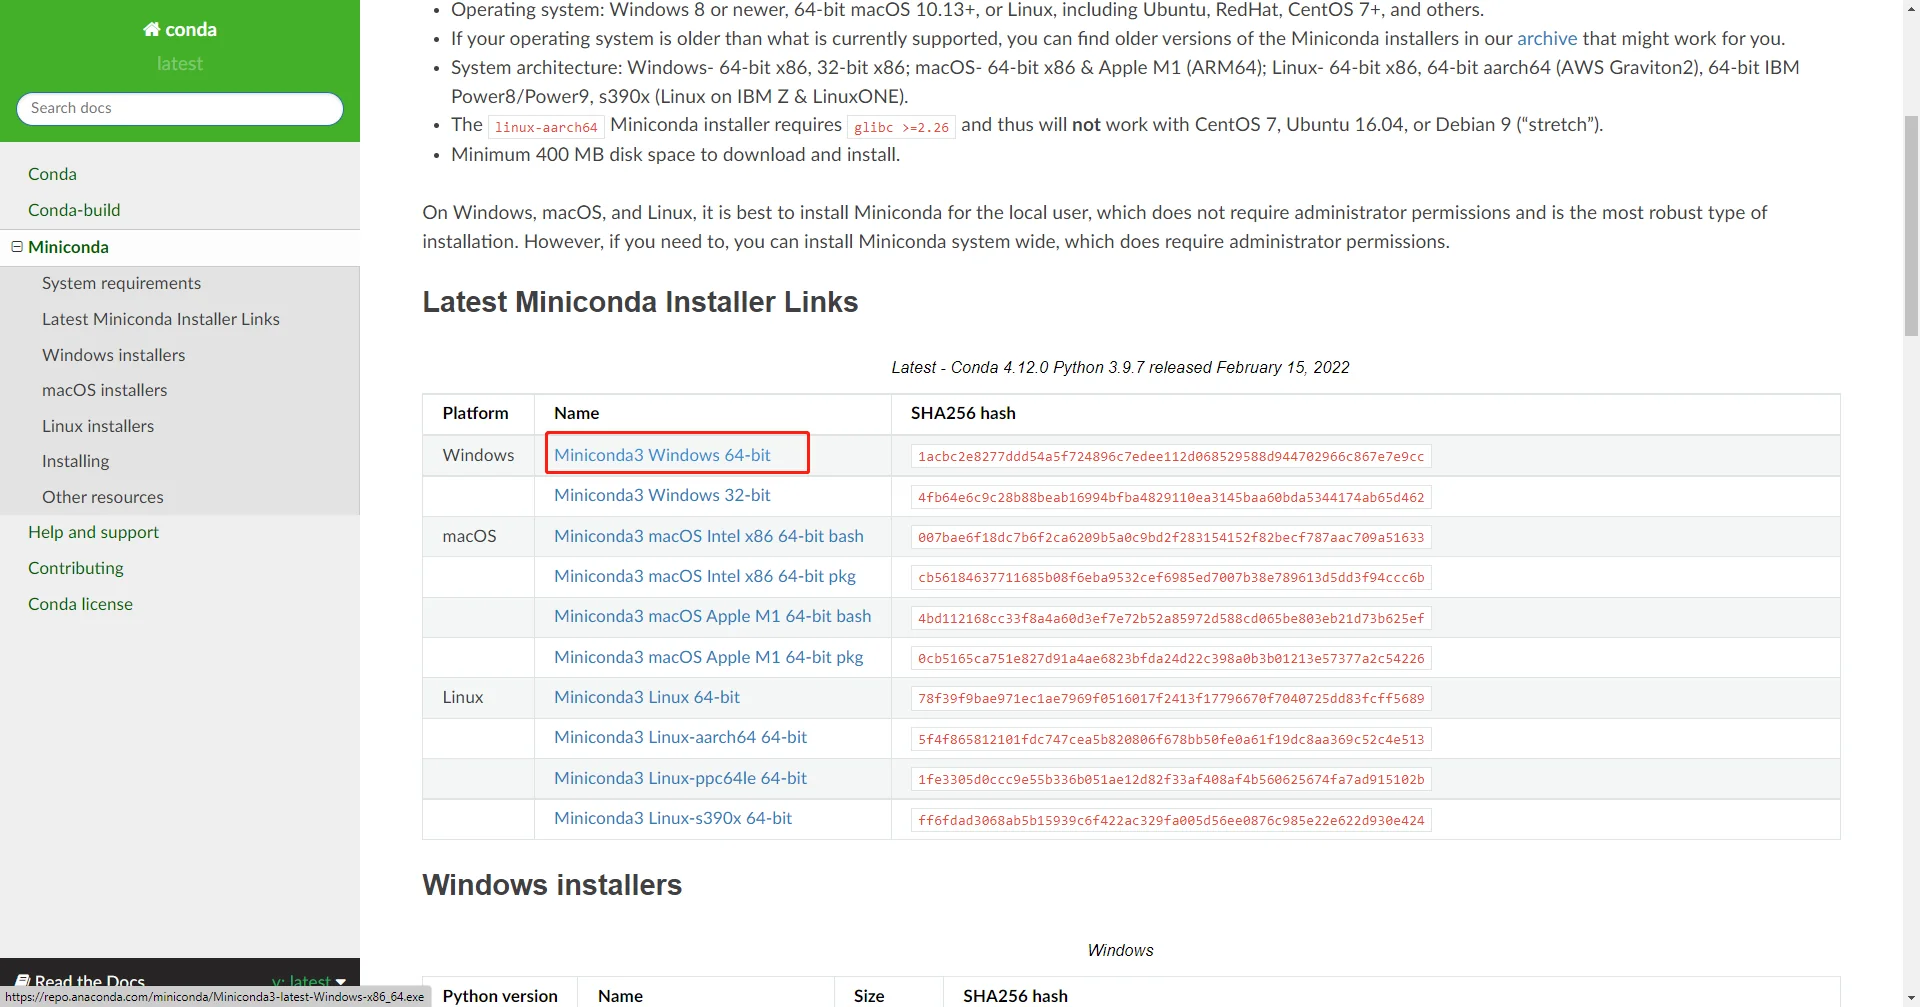
Go to the official website, Miniconda - conda documentation, and download the latest version of Miniconda.
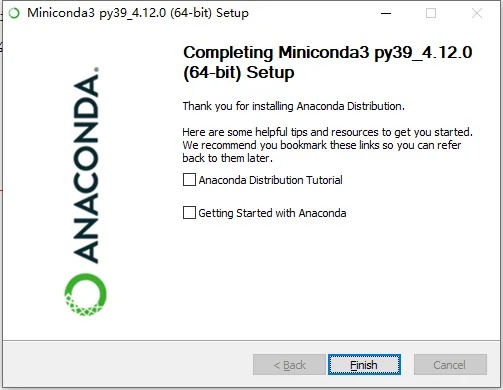
Then install it using the default options throughout.
Installing Xponge
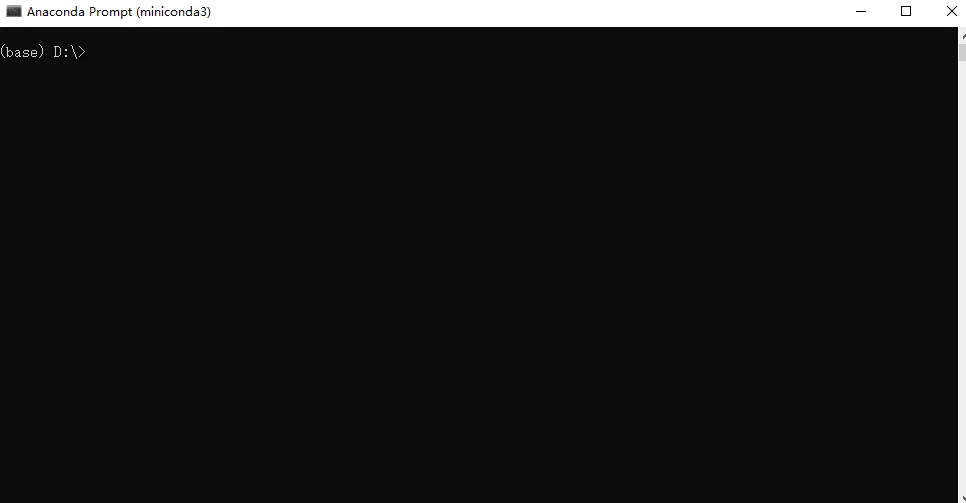
Open the Miniconda terminal. Because test files may be generated during the process, first switch the current directory to an empty temporary folder.
Run the following commands line by line to install Xponge and test whether the installation succeeded.
conda create -n Xponge python==3.7.5 -y
conda activate Xponge
pip install Xponge
Xponge test
If the final output contains
3 test case(s) for base - base
...
then the installation was successful.
Associating SPONGE with Xponge
Run the following commands line by line. Replace D:\SPONGE\SPONGE\x64\Release with your own SPONGE folder.
Xponge.mdrun -set D:\SPONGE\SPONGE\x64\Release
Xponge.mdrun SPONGE
del mdinfo.txt mdout.txt
If you get the following result, the binding was successful.
Installing VMD
Installing the Main VMD Program
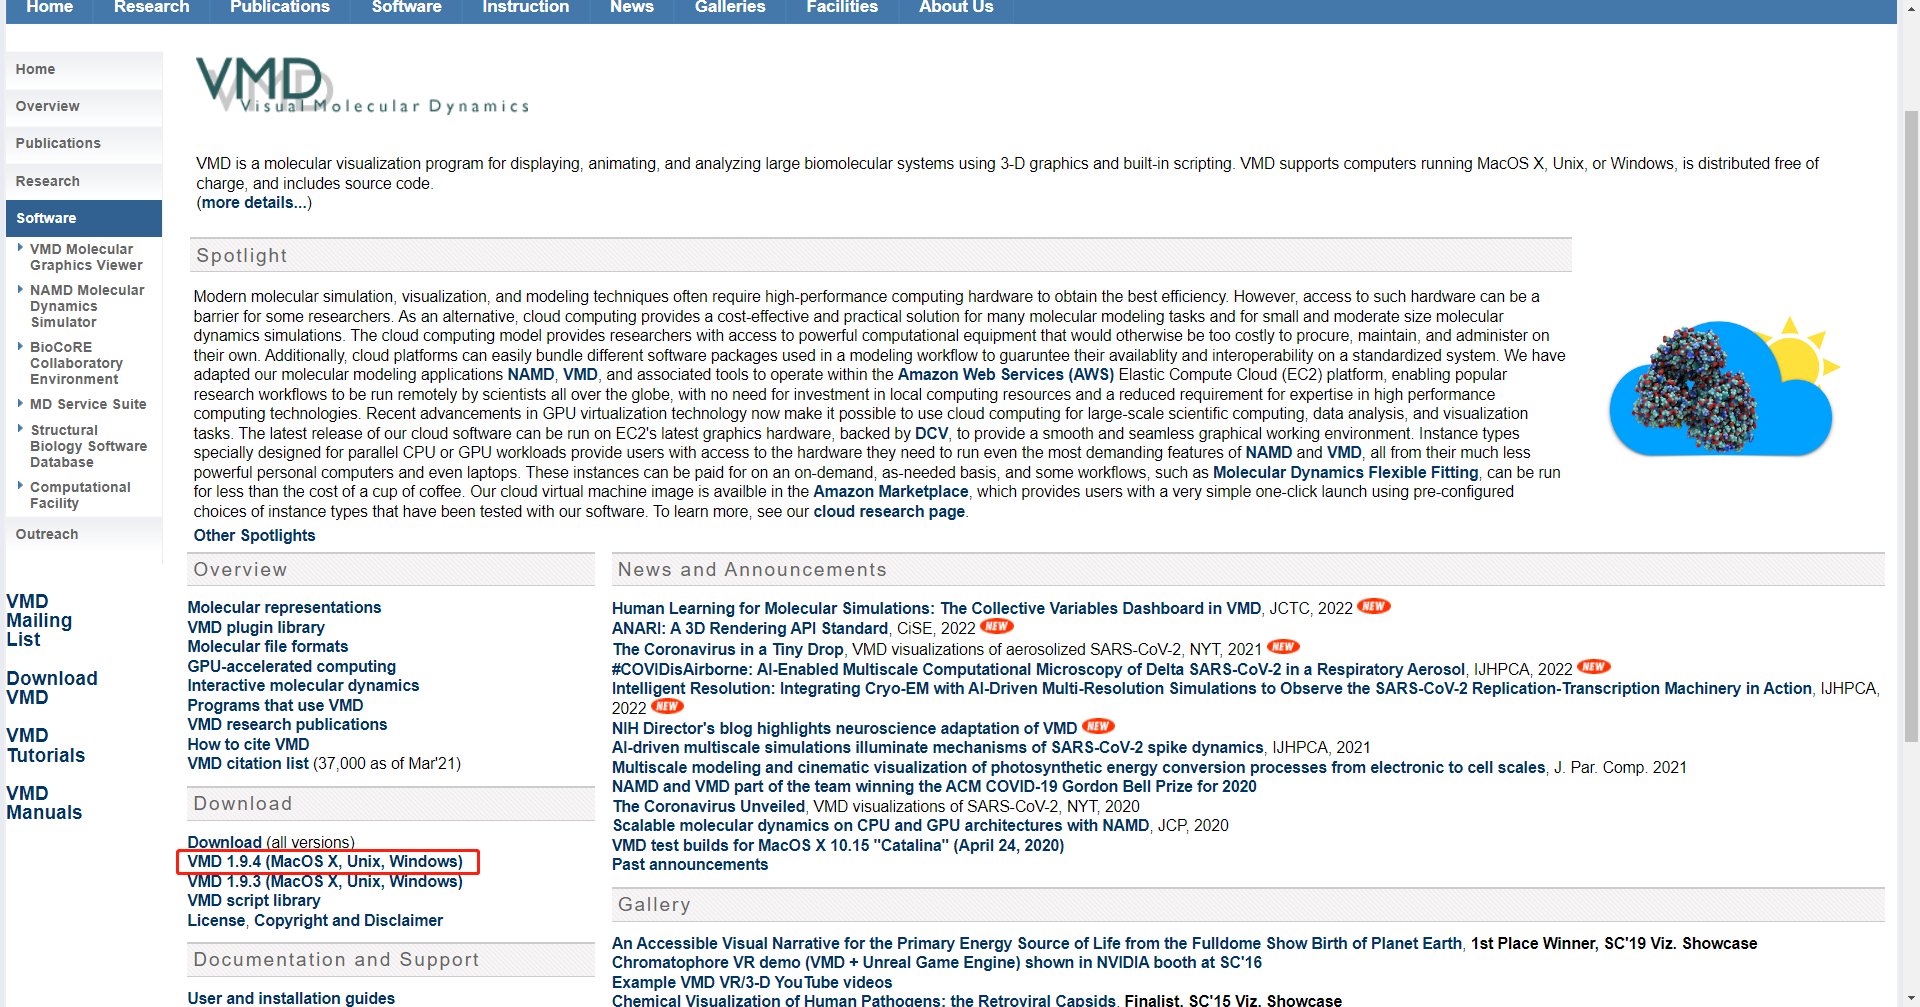
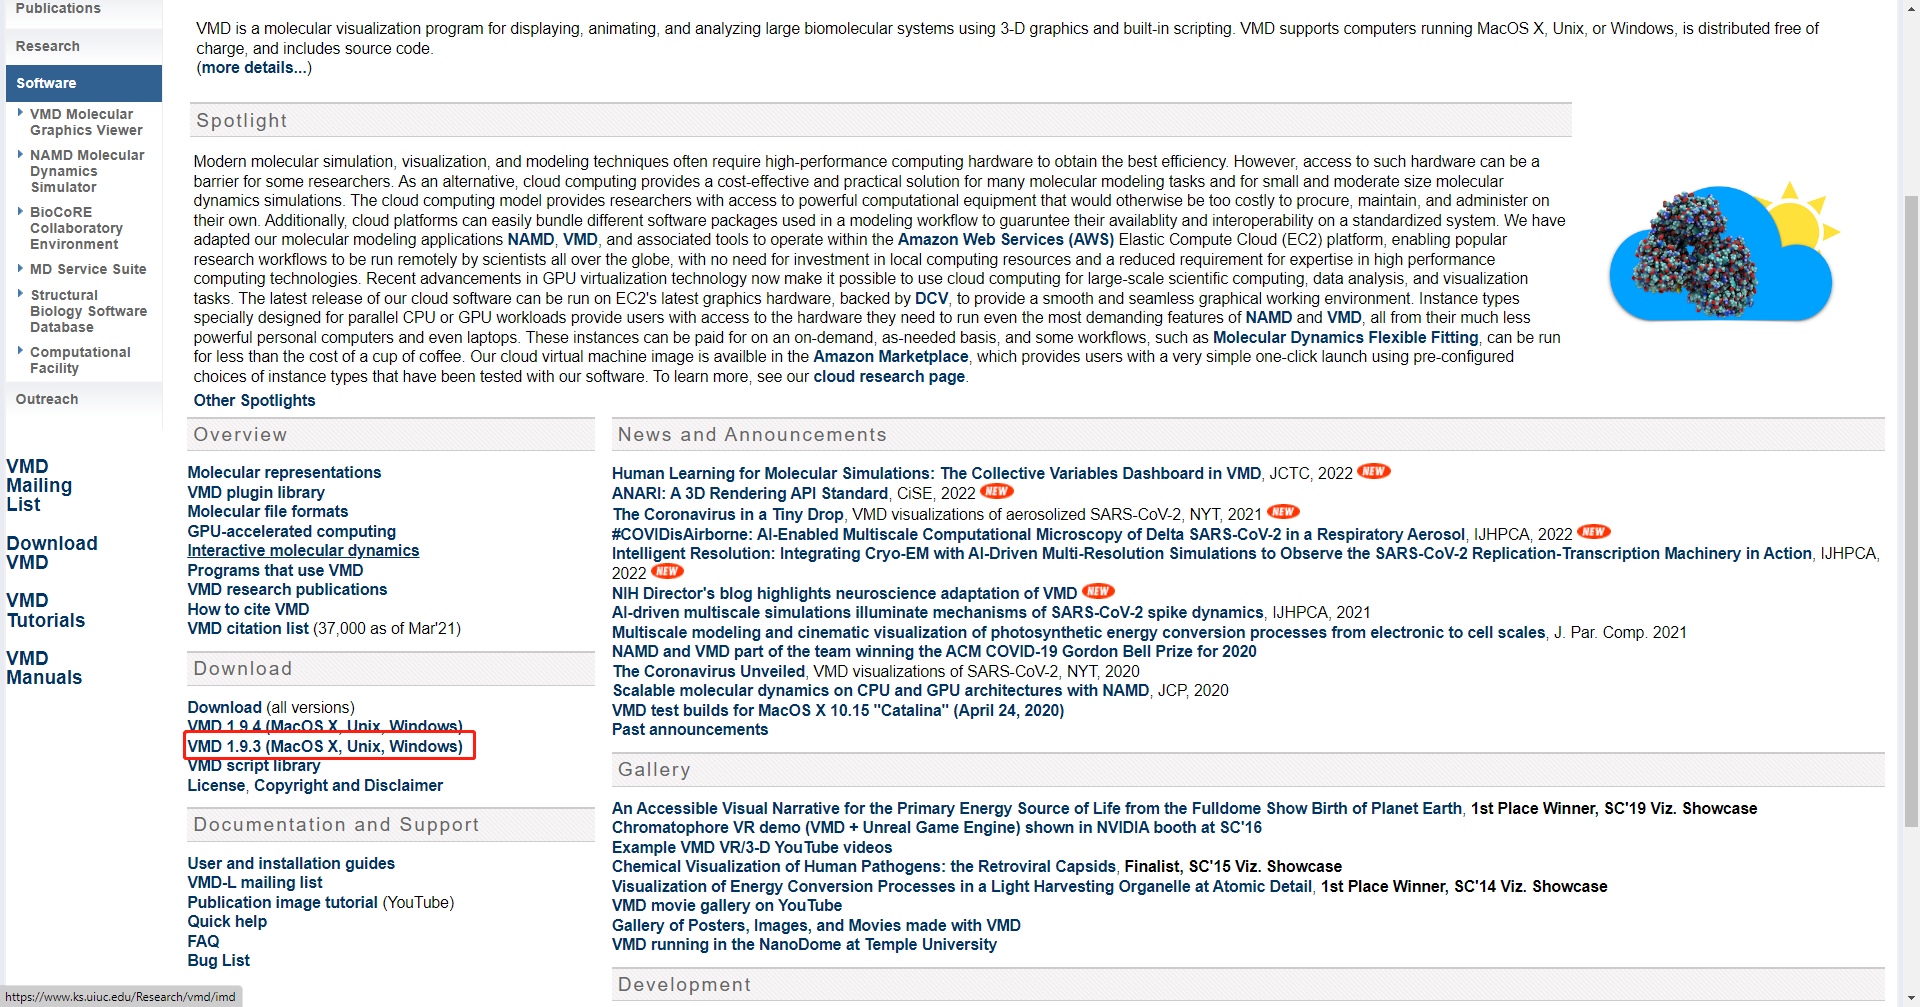
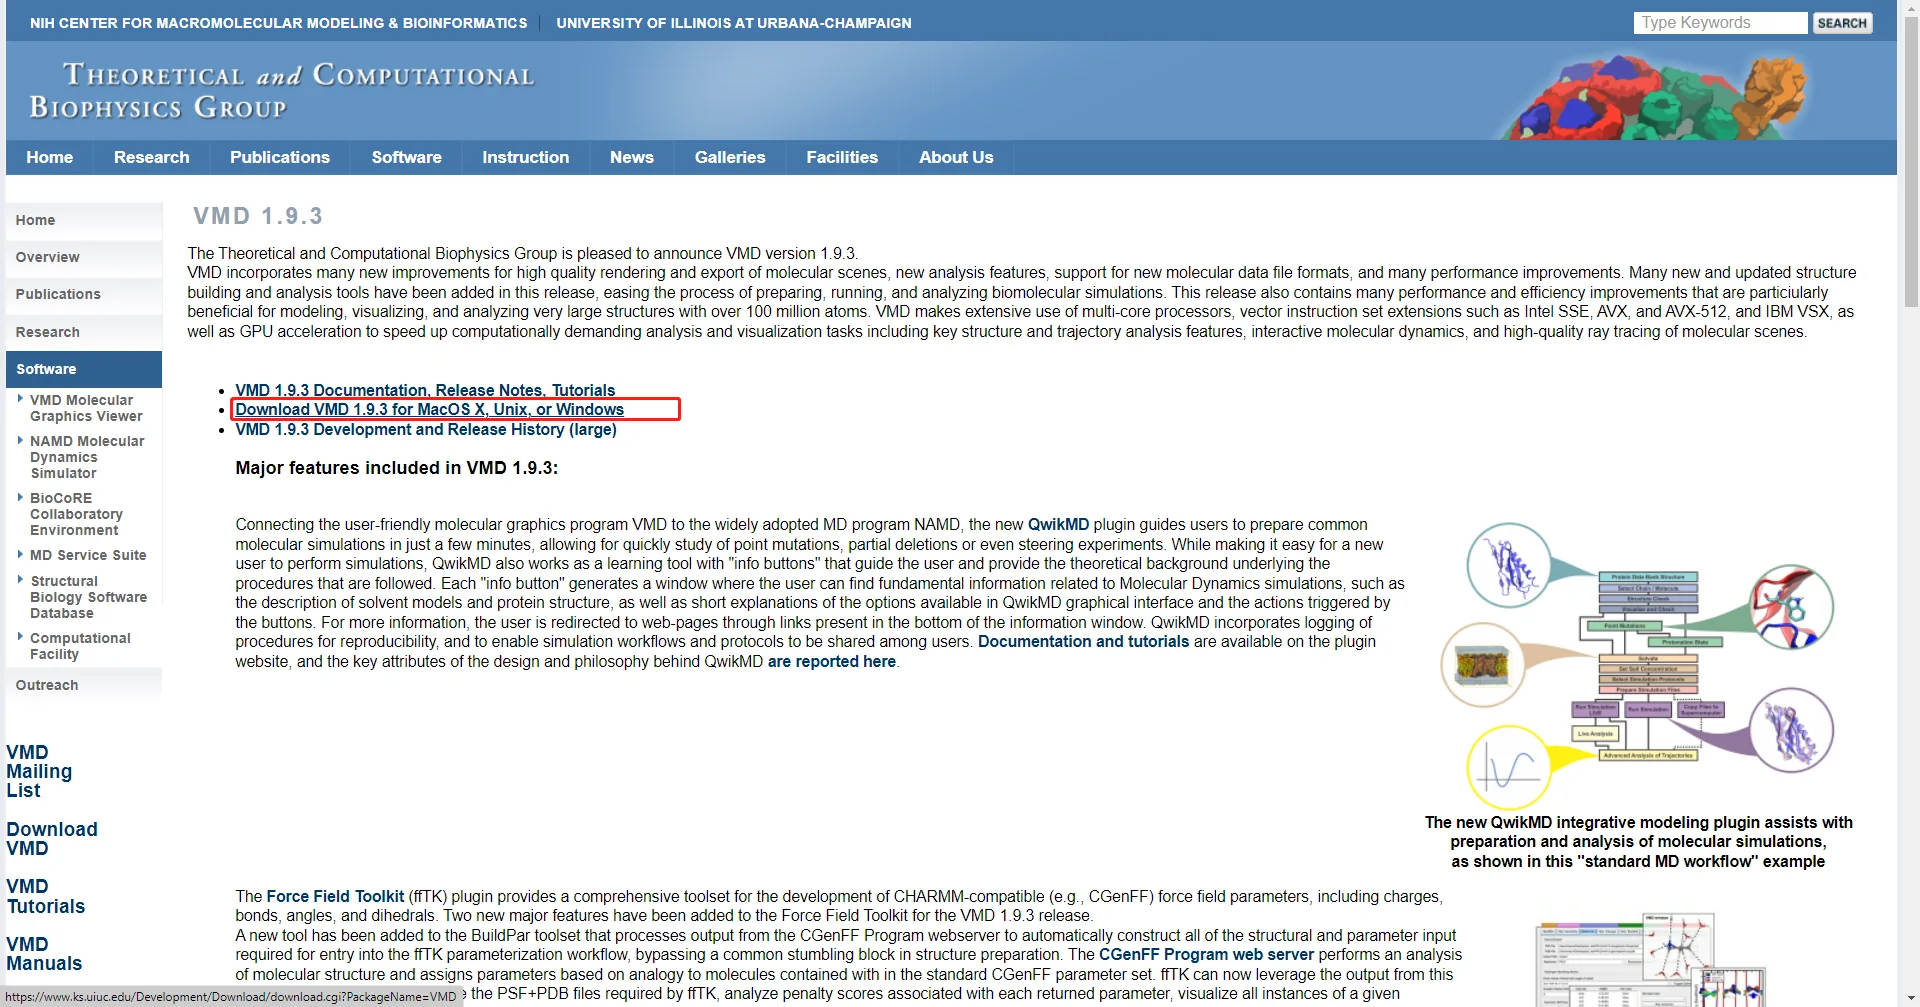
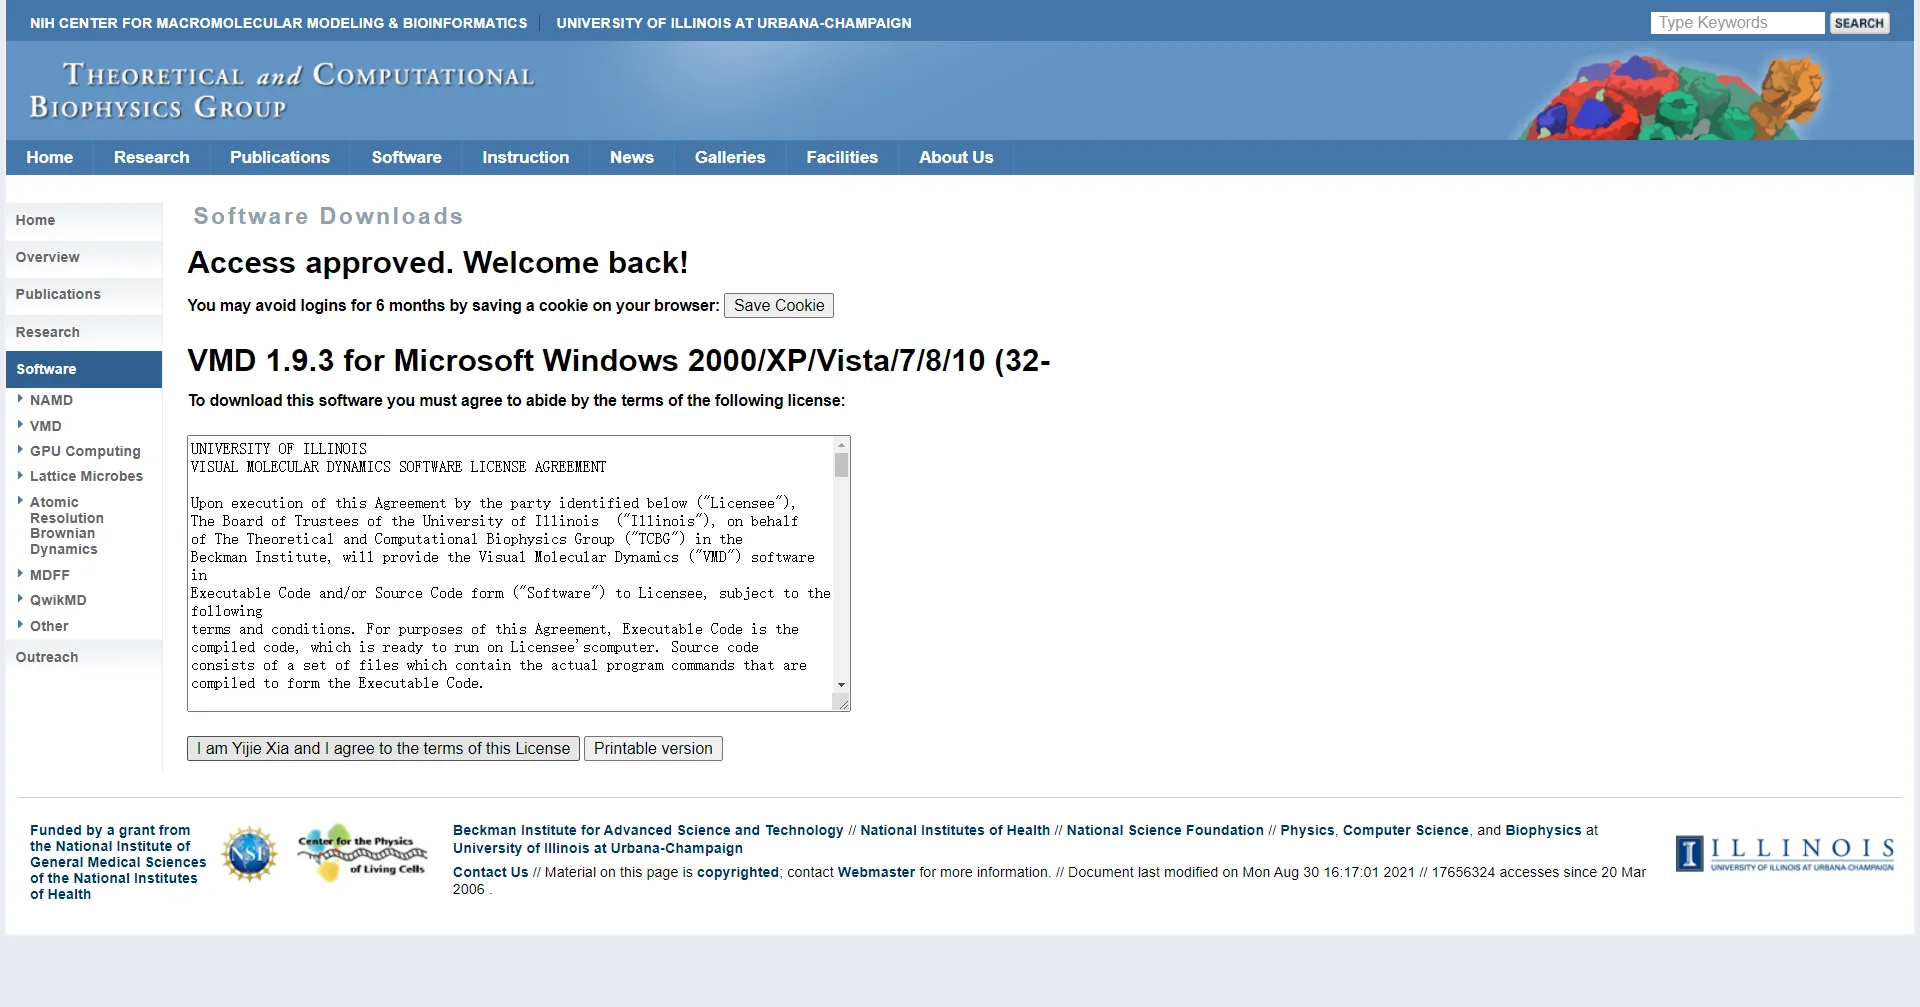
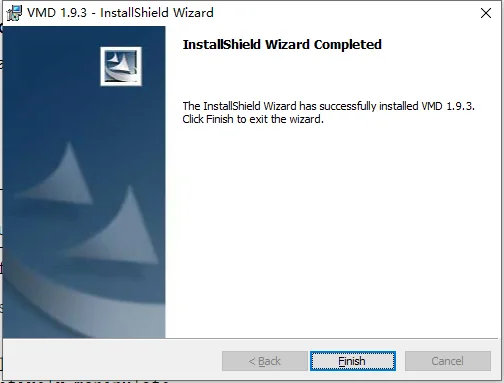
Go to the official VMD website, VMD - Visual Molecular Dynamics (uiuc.edu). The latest 1.9.4 version is recommended here.
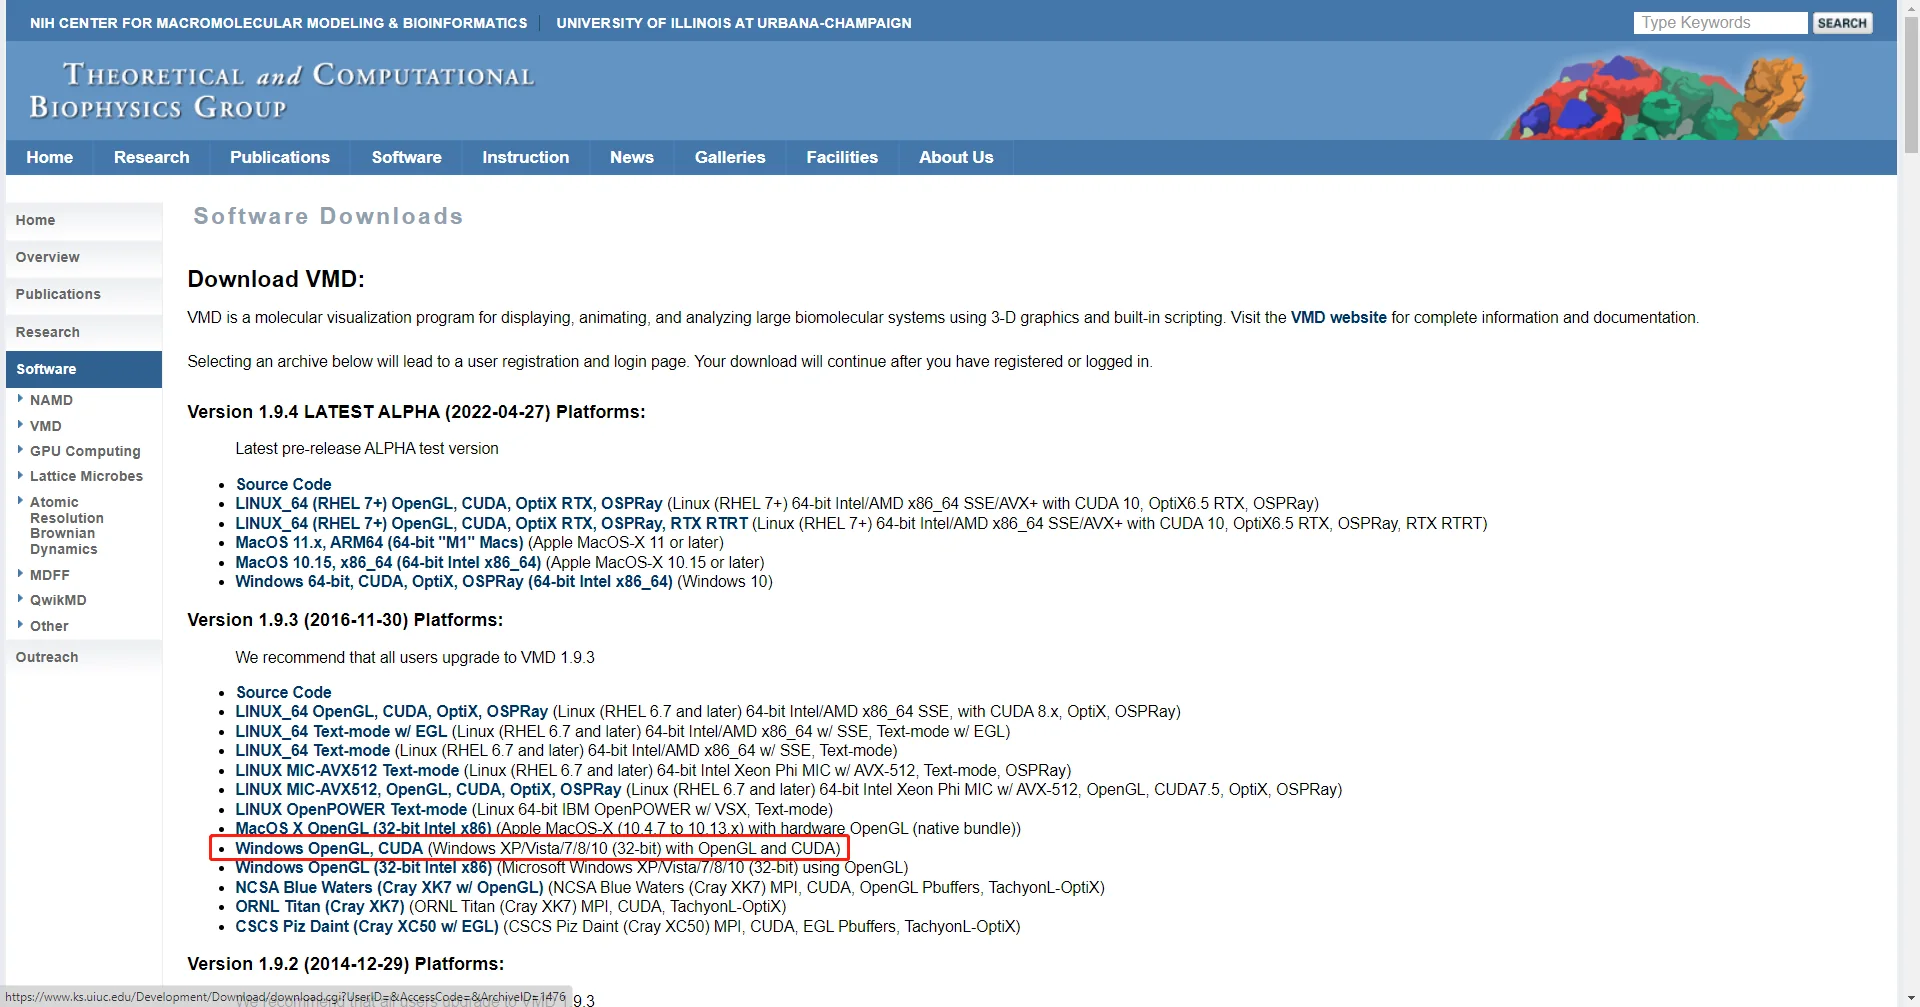
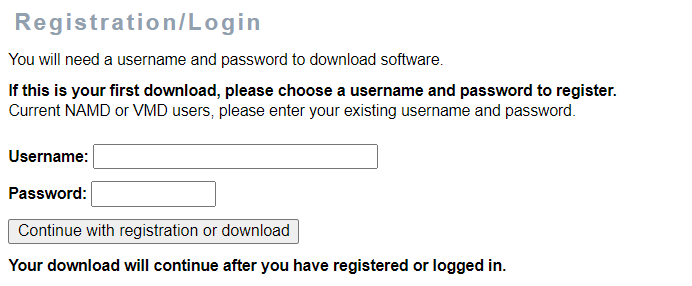
You will need to register. You can register as needed at this step.
Installing the SPONGE VMD Plugin
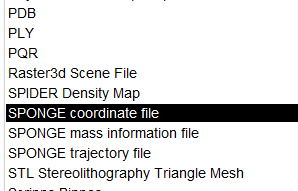
Download the VMD plugin from the SPONGE official website, SPONGE (spongemm.cn).
After downloading, you will have a zip file. Extract it and read the README file inside for configuration instructions. Finally, open VMD. If you can find the SPONGE-related formats under the new file formats, the installation was successful.