Installing SPONGE and Related Software on Linux
SPONGE 1.4 tutorial.This page was translated by GPT-5.5 AI.
Installing SPONGE and Related Software on Linux
Last updated
2024/01/01
Introduction
This tutorial covers the installation of SPONGE and its related software on Ubuntu 18.04 with a graphical desktop environment. The software involved includes:
- CudaSPONGE: the main molecular dynamics simulation program
- Xponge: molecular dynamics pre- and post-processing software
- VMD: molecular dynamics visualization software
Installing CudaSPONGE from Source
Confirming the CUDA Version
Under normal circumstances, a system with a graphical desktop already has a graphics driver installed. Uninstalling the graphics driver may cause many complicated problems, so it is generally better to choose a usable CUDA version based on your current graphics driver version.
You can use the nvidia-smi command to obtain the driver version and the highest supported CUDA version.
nvidia-smi
Sat Sep 24 12:27:21 2022
+-----------------------------------------------------------------------------+
| NVIDIA-SMI 460.141.03  Driver Version: 460.141.03    CUDA version: 11.2     |
|-------------------------------+----------------------+----------------------+
| GPU  Name        Persistence-M| Bus-Id        Disp.A | Volatile Uncorr. ECC |
| Fan  Temp  Perf  Pwr:Usage/Cap|         Memory-Usage | GPU-Util  Compute M. |
|===============================+======================+======================|
|   0  Quadro RTX 4000     On   | 00000000:17:00.0 Off |                  N/A |
| 30%   38C    P8     8W / 125W |    173MiB /  8192MiB |      0%      Default |
+-------------------------------+----------------------+----------------------+
As shown above, the highest version supported by the computer used here is 11.2.
In addition, nvidia-smi in some older driver versions may not display the usable CUDA version. In that case, you can visit Release Notes :: CUDA Toolkit Documentation (nvidia.com) to check the supported graphics driver versions and CUDA versions.
Installing the Compiler
Normally, Linux systems come with the gcc compiler, so no additional setup is required. If your operating system is very old and the gcc version is too low, you need to upgrade the gcc compiler.
Downloading CUDA
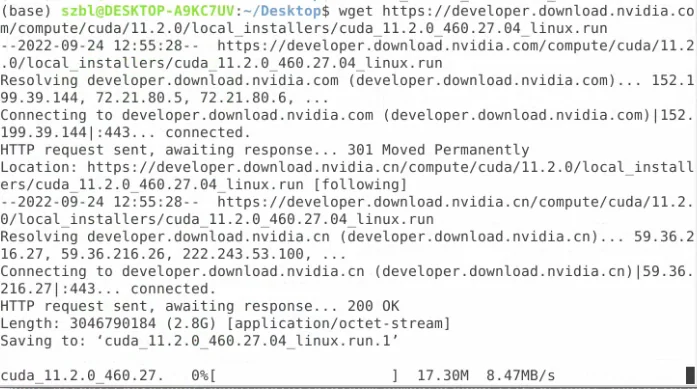
Go to the official CUDA website, CUDA Toolkit Archive | NVIDIA Developer, to download CUDA. Follow the prompts to choose the correct version and platform information for your situation, select the local installer, and then enter the commands shown on the website in the command line.
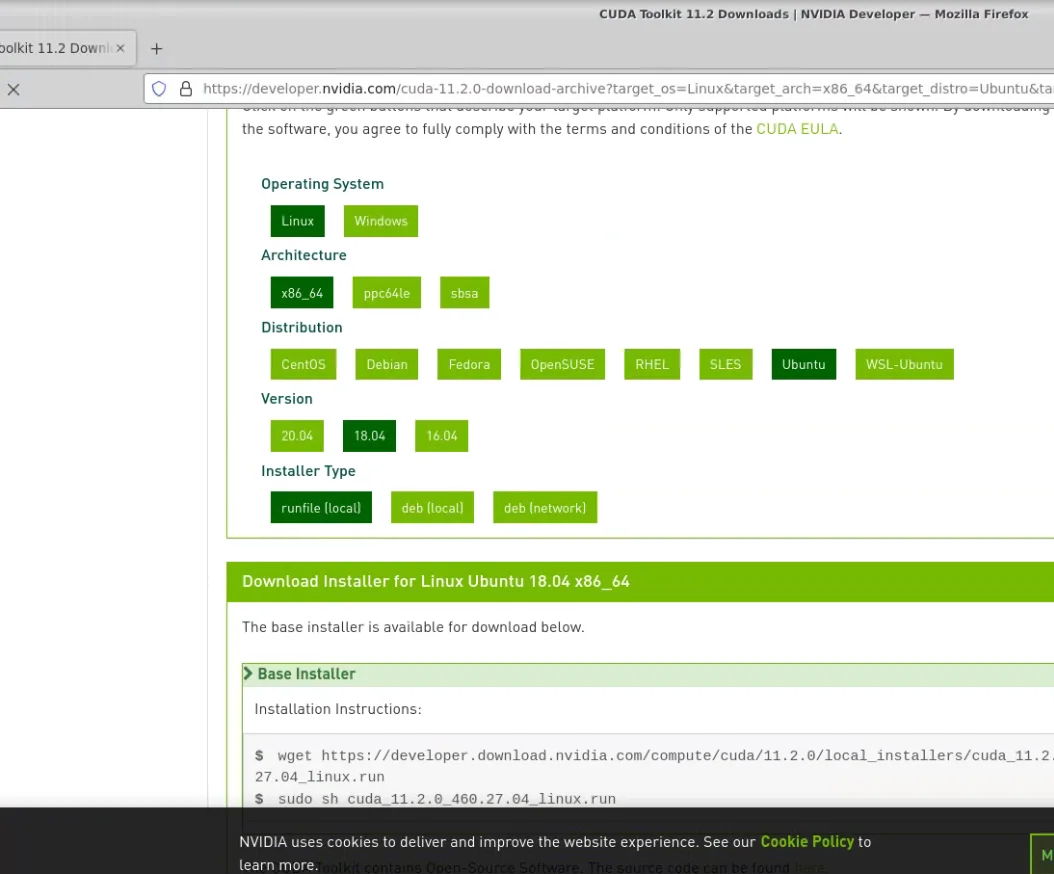
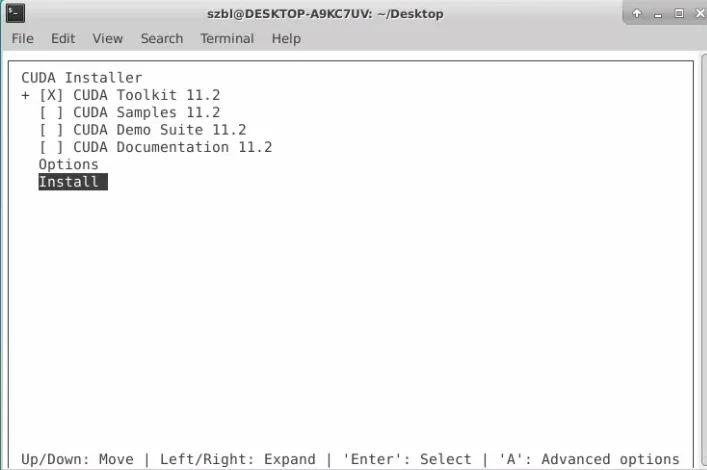
Normally, you only need to select the toolkit during installation.
Next, set the environment variables. On Ubuntu, the default environment variables are set in ~/.bashrc. You can use the following commands:
echo 'export LD_LIBRARY_PATH=$LD_LIBRARY_PATH:/usr/local/cuda-11.2/lib64:/usr/local/cuda-11.2/lib' >> ~/.bashrc
echo 'export PATH=$PATH:/usr/local/cuda-11.2/bin' >> ~/.bashrc
Change cuda-11.2 to the CUDA version you installed.
After installation, enter nvcc -V. If no error is reported, the installation is successful.
nvcc -V
nvcc: NVIDIA (R) Cuda compiler driver
Copyright (c) 2005-2020 NVIDIA Corporation
Built on Mon_Nov_30_19:08:53_PST_2020
Cuda compilation tools, release 11.2, V11.2.67
Build cuda_11.2.r11.2/compiler.29373293_0
Installing the SPONGE Package
Go to the official SPONGE website, SPONGE (spongemm.cn), to download SPONGE.
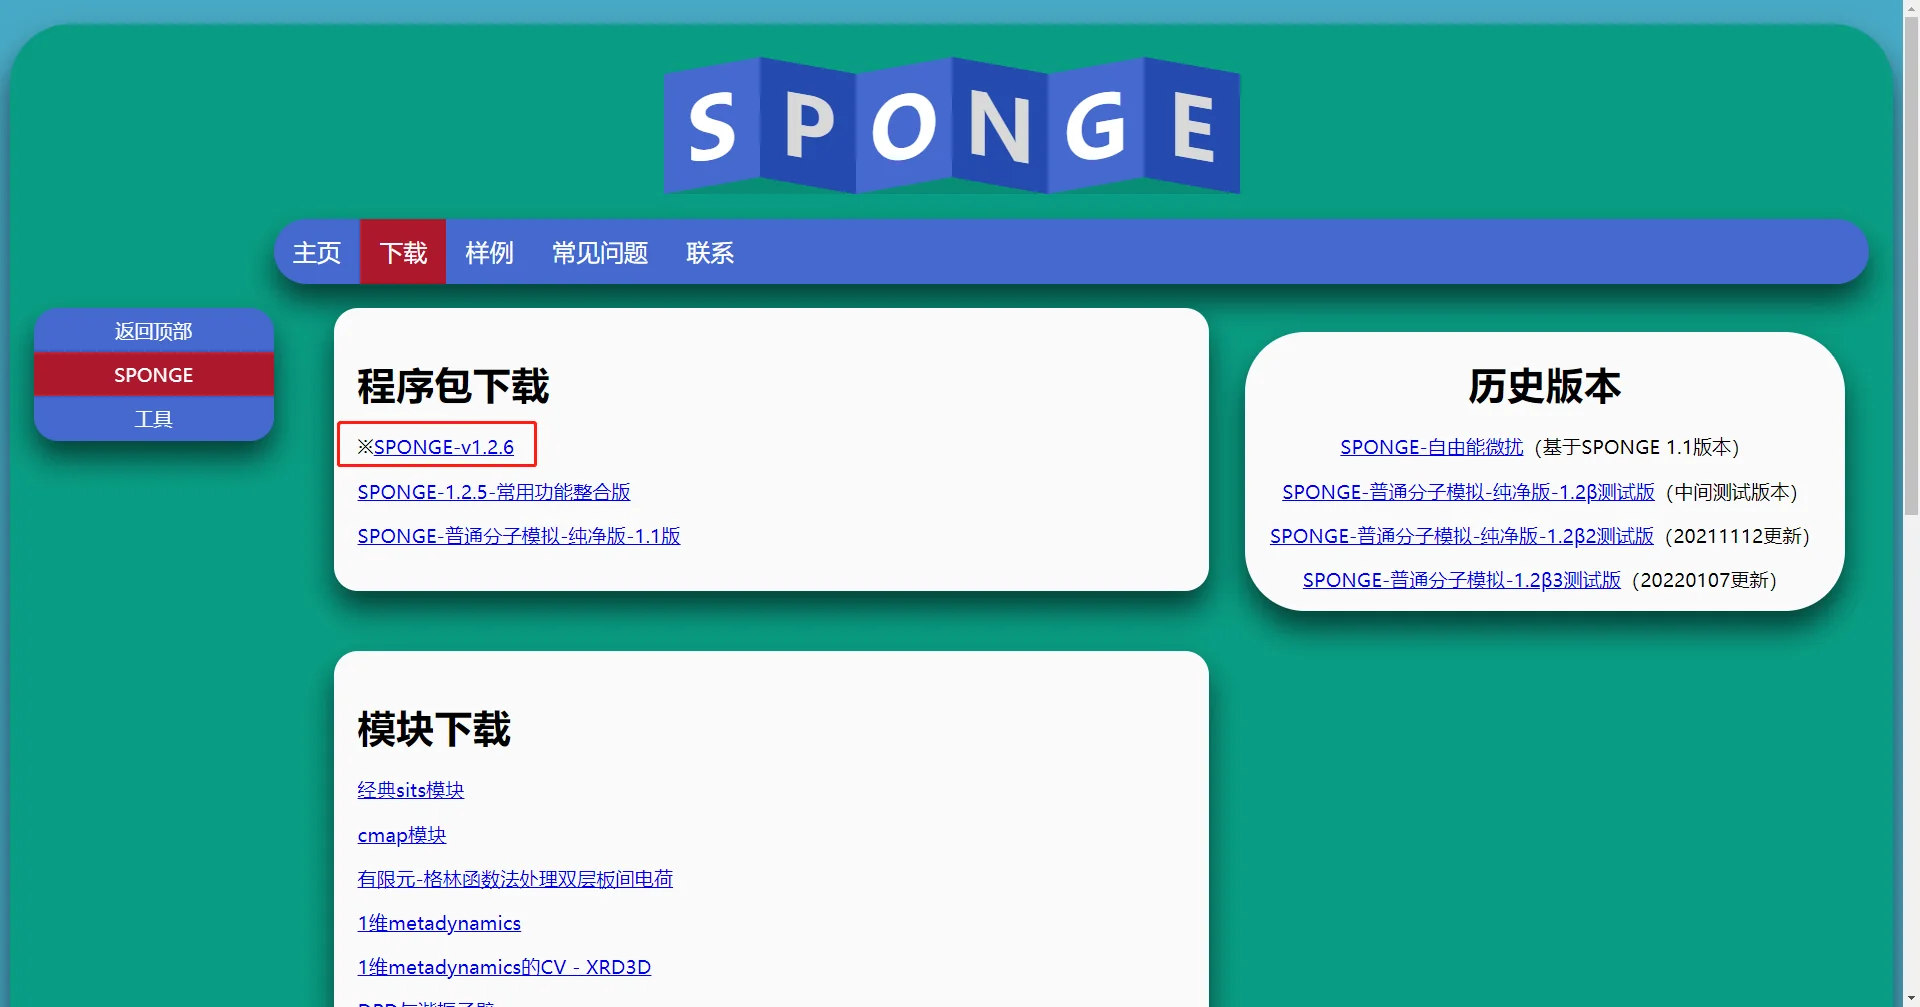
After the download is complete, you will obtain a zip package. Use the unzip command to extract it, open the SPONGE folder inside, and install it with the following command. Here, 12 means compiling with 12 threads.
make install -j 12
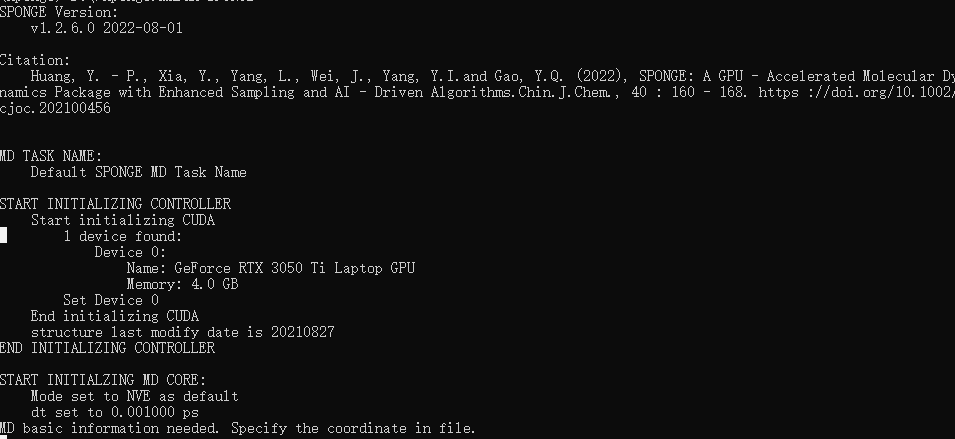
After installation, run the ./SPONGE command directly in that folder. If it runs normally, the installation is successful.
Installing Xponge
Installing Xponge
Go to the official website, Miniconda — conda documentation, to download and install the latest version of Miniconda, and then use the following commands.
Note that installing Miniconda is not required. You can start directly from the pip install Xponge step.
conda create -n Xponge python -y
conda activate Xponge
pip install Xponge
Xponge test
If the final output contains:
3 test case(s) for base - base
...
then the installation is successful.
Associating SPONGE with Xponge
Run the following commands line by line. Replace ~/Desktop/SPONGE with your own SPONGE folder.
Xponge.mdrun -set ~/Desktop/SPONGE
Xponge.mdrun SPONGE
rm mdinfo.txt mdout.txt
If you obtain the following result, the binding is successful.
Installing VMD
Installing the Main VMD Program
Go to the official VMD website, VMD - Visual Molecular Dynamics (uiuc.edu). The latest 1.9.4 version is recommended here.
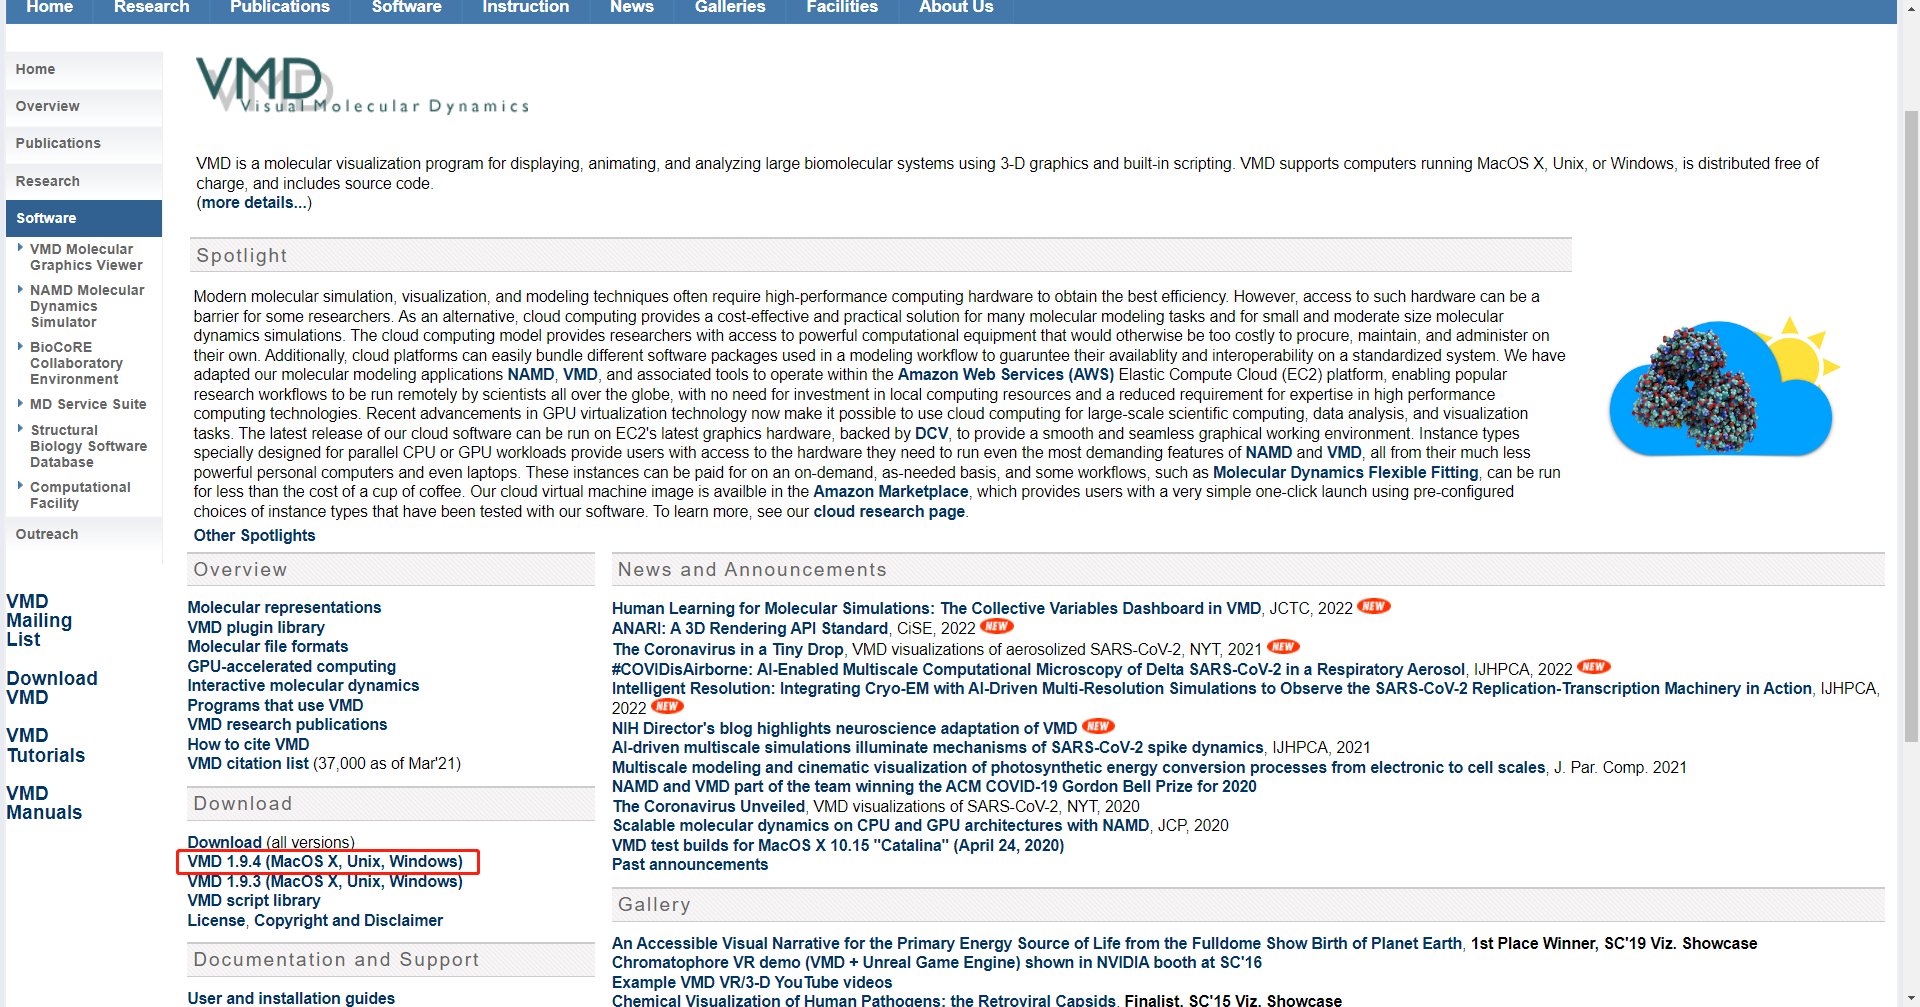
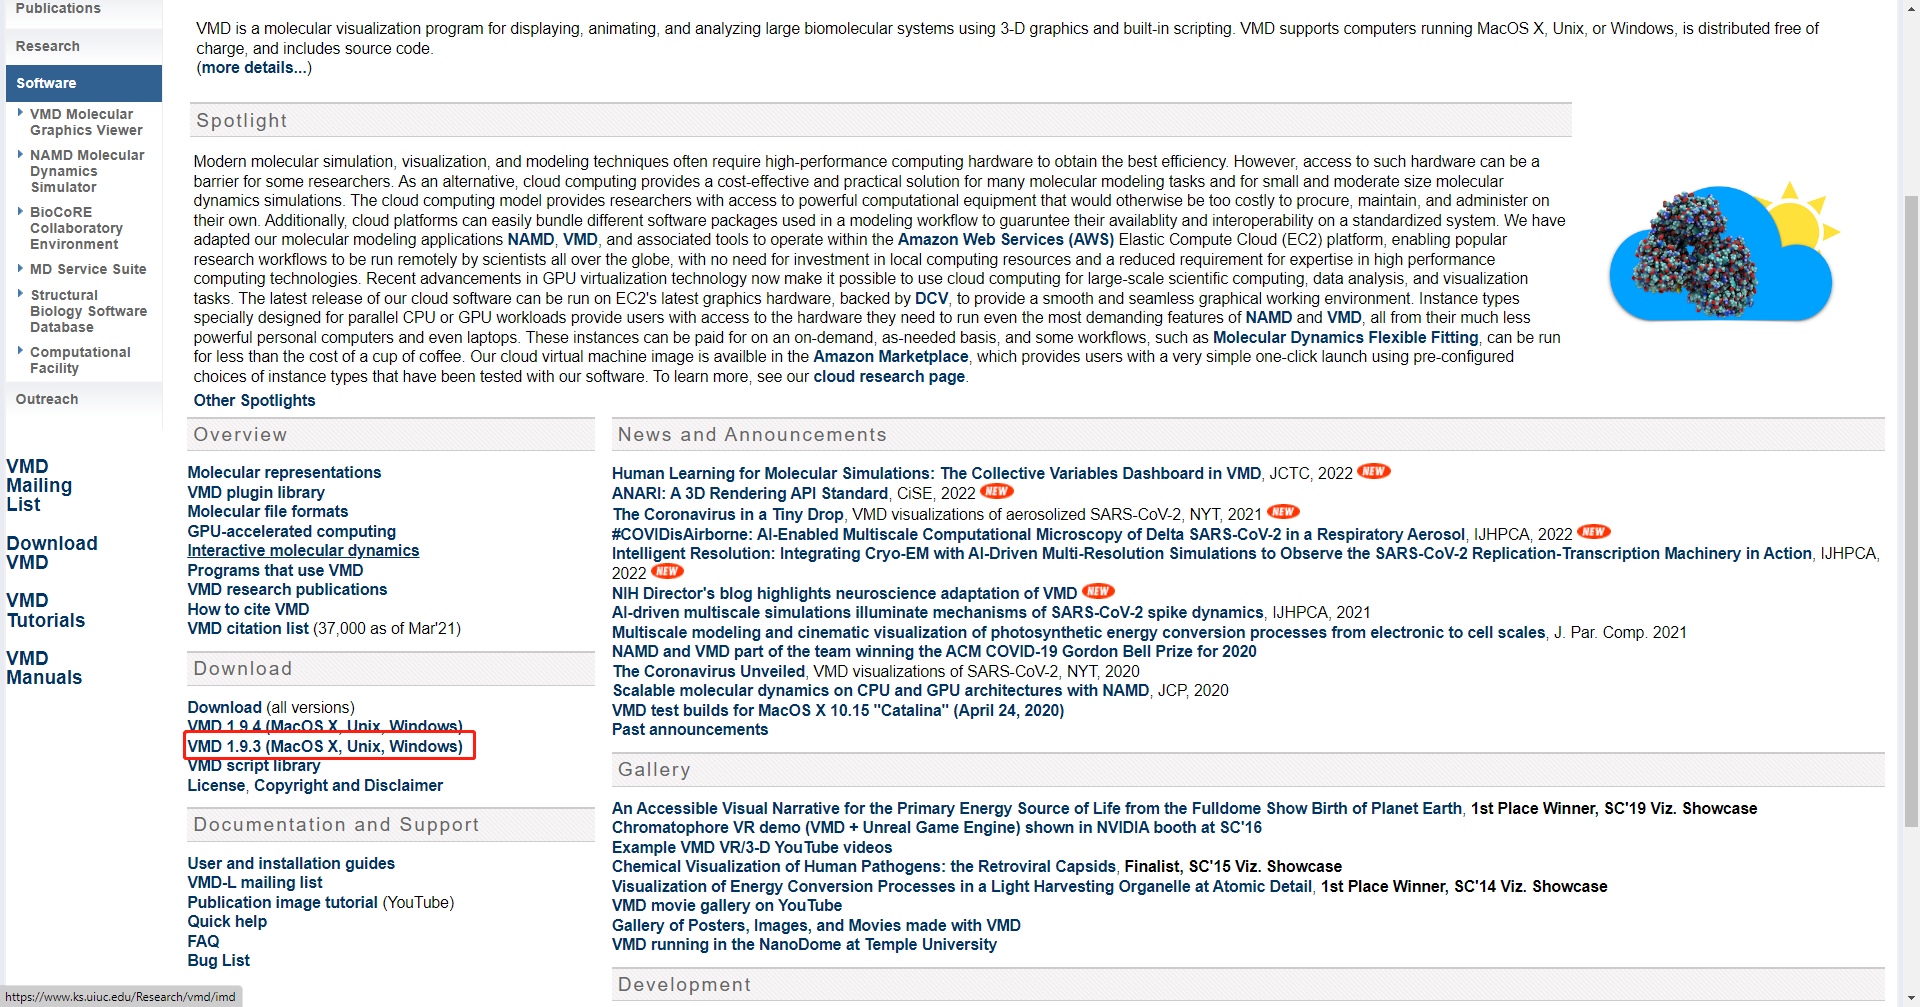
Continue clicking through the prompts to download it. After downloading, you will obtain an archive. Extract it, open the extracted folder, and then run the following commands in sequence.
sudo ./configure LINUXAMD64 #LINUXAMD64 can be replaced according to your OS
./configure
cd src
sudo make install
Installing the SPONGE VMD Plugin
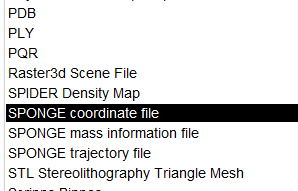
Download the VMD plugin from the official SPONGE website, SPONGE (spongemm.cn).
The download is a zip file. After extracting it, you can read the included README file to configure it. Finally, open VMD. If you can find the SPONGE-related formats among the new file formats, the installation is successful.